This store requires javascript to be enabled for some features to work correctly.

The jigger is there to help ensure you strike the right balance when creating consistent cocktails. When it comes to picking the right jigger for you, ultimately it boils down to if you have a steady hand and whether you have a style preference for one of the following:
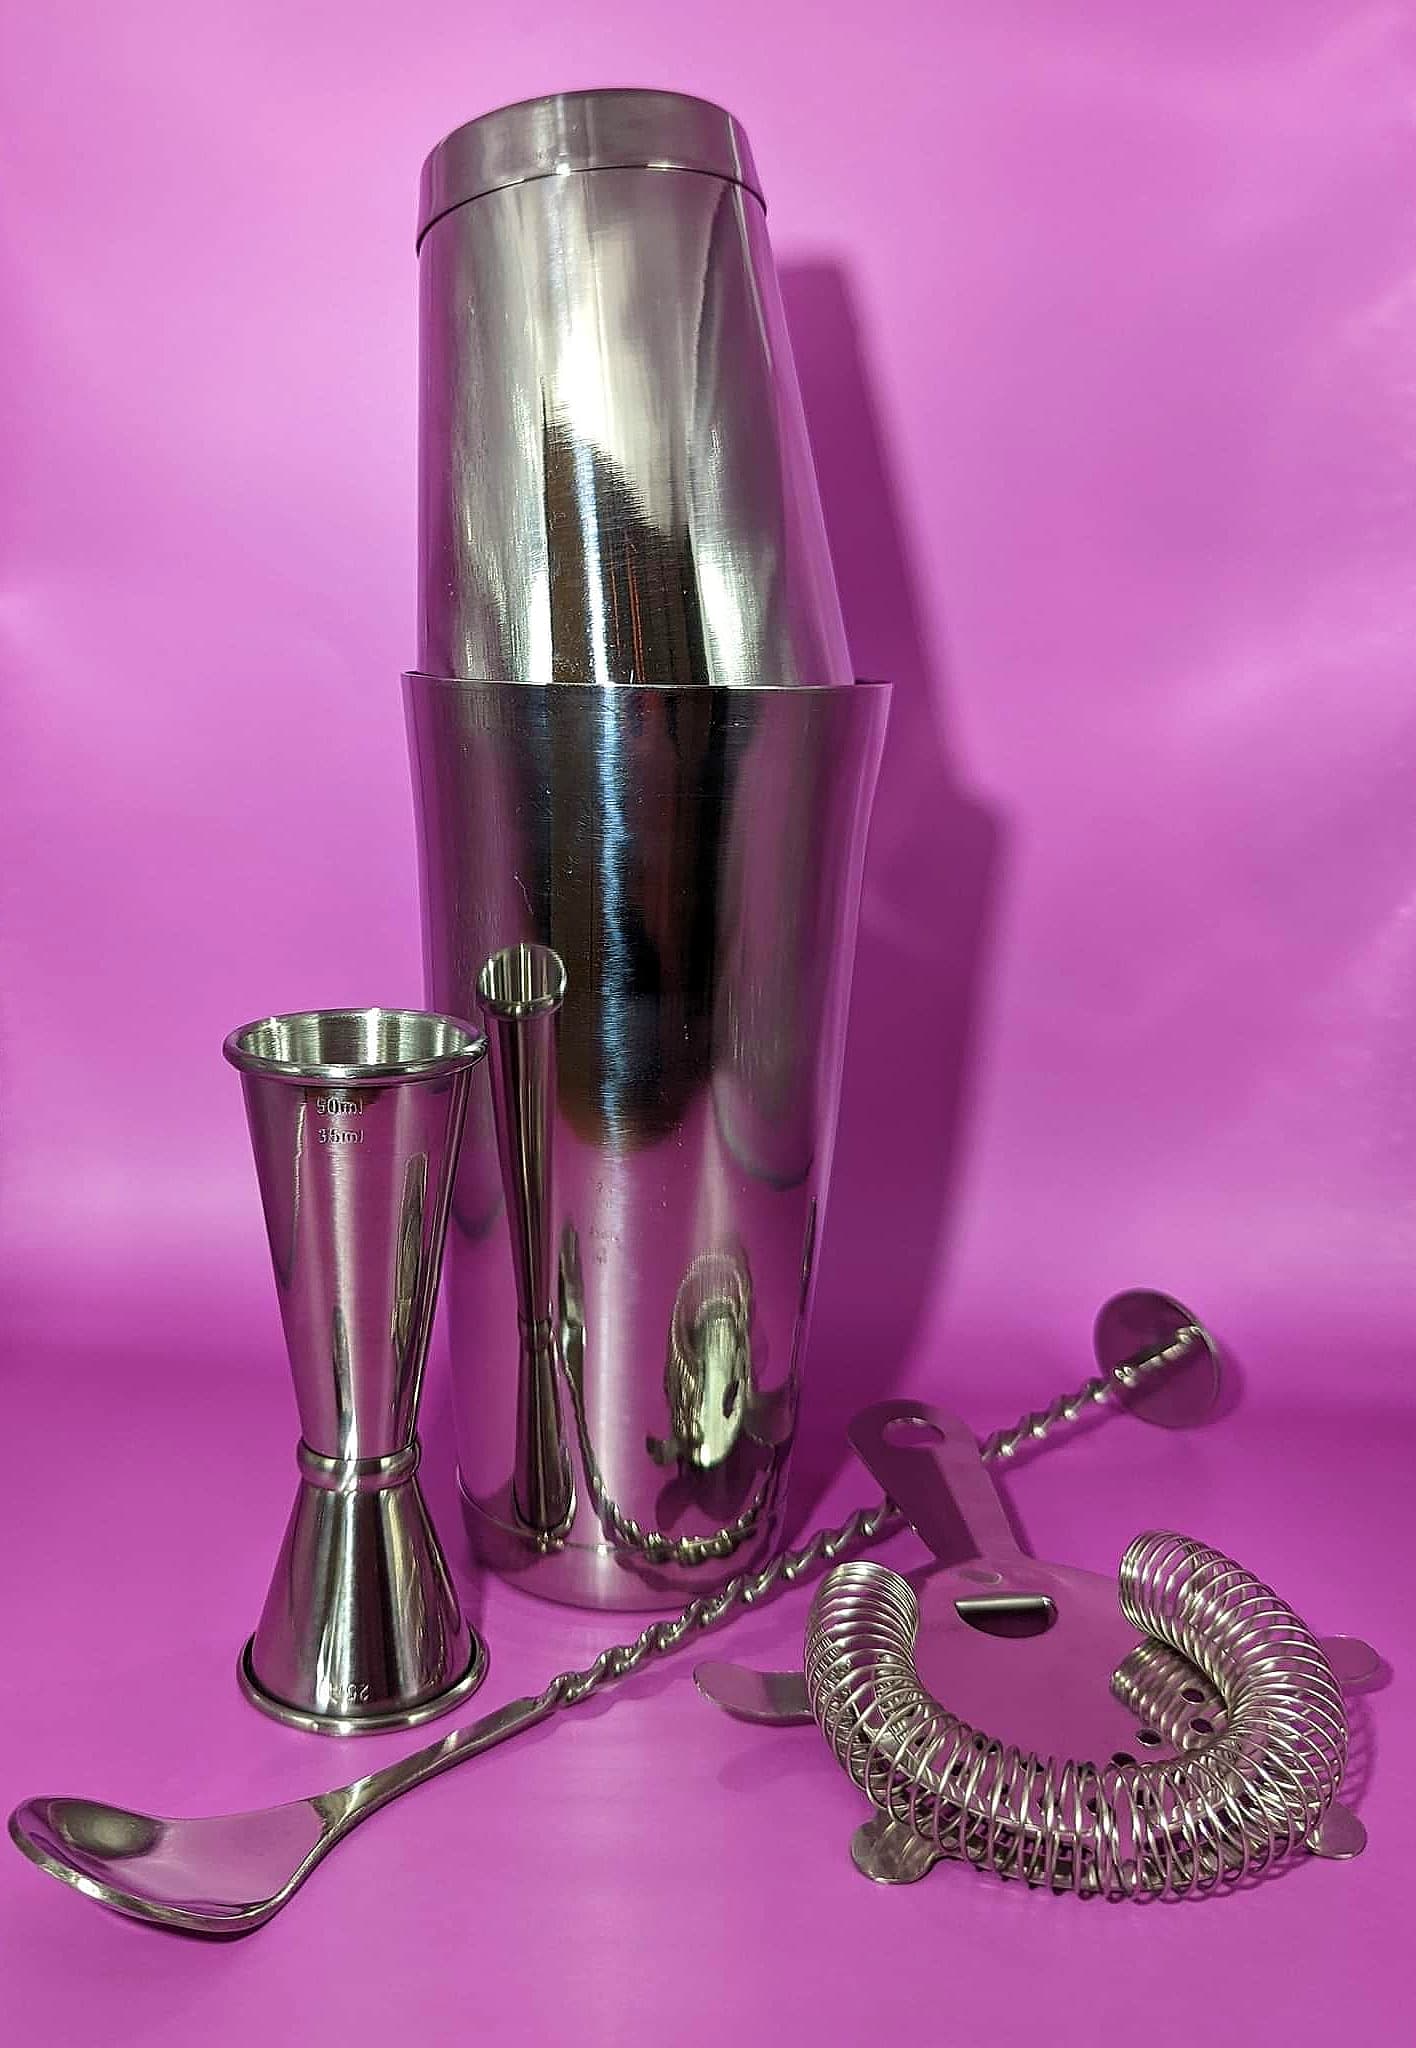
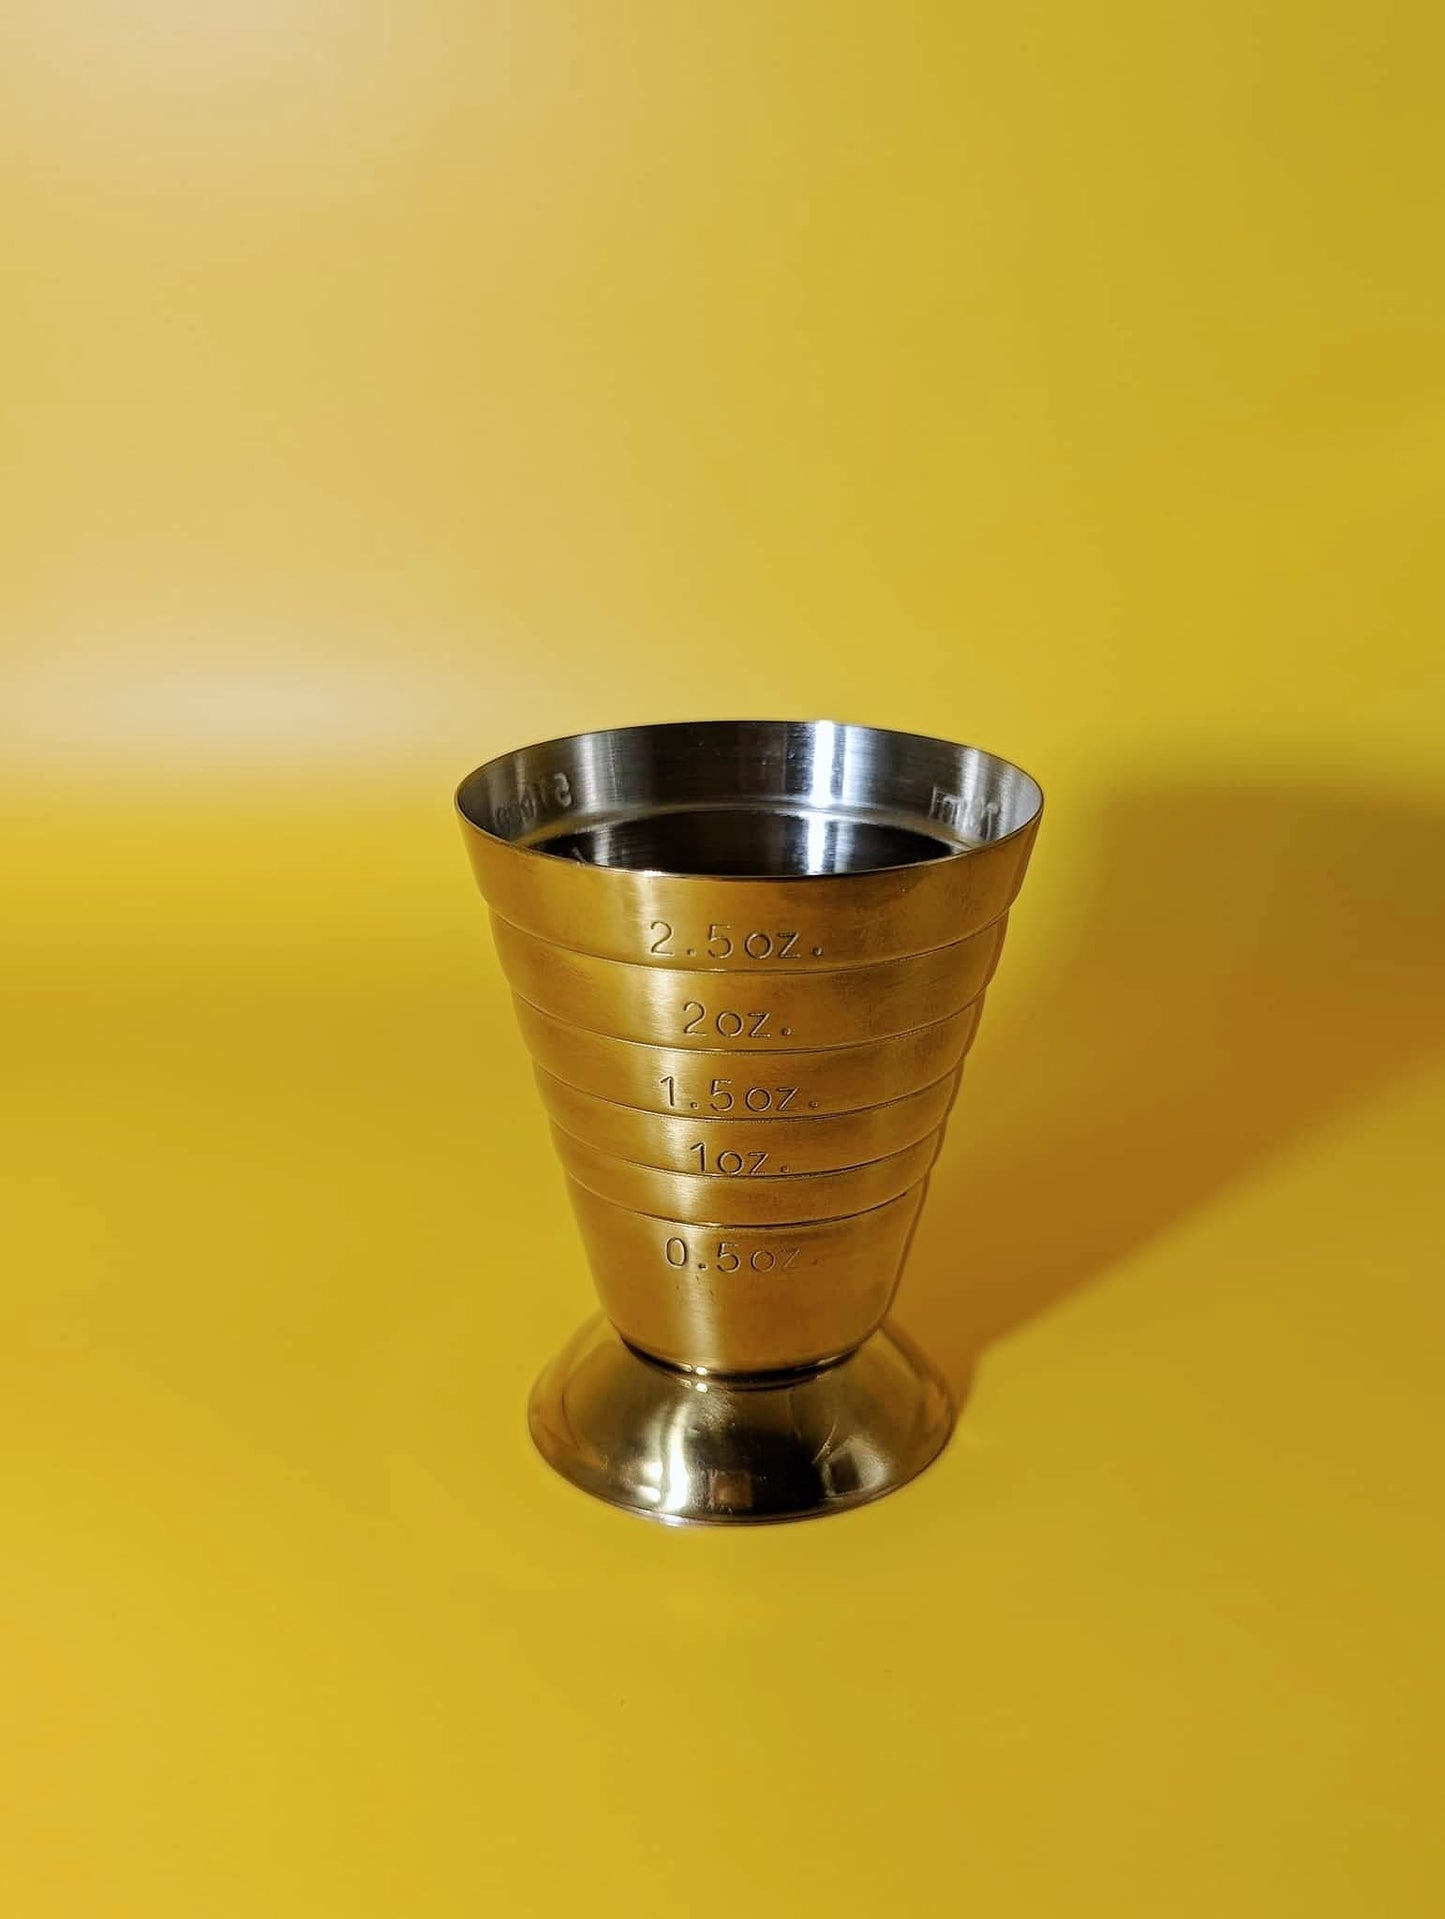
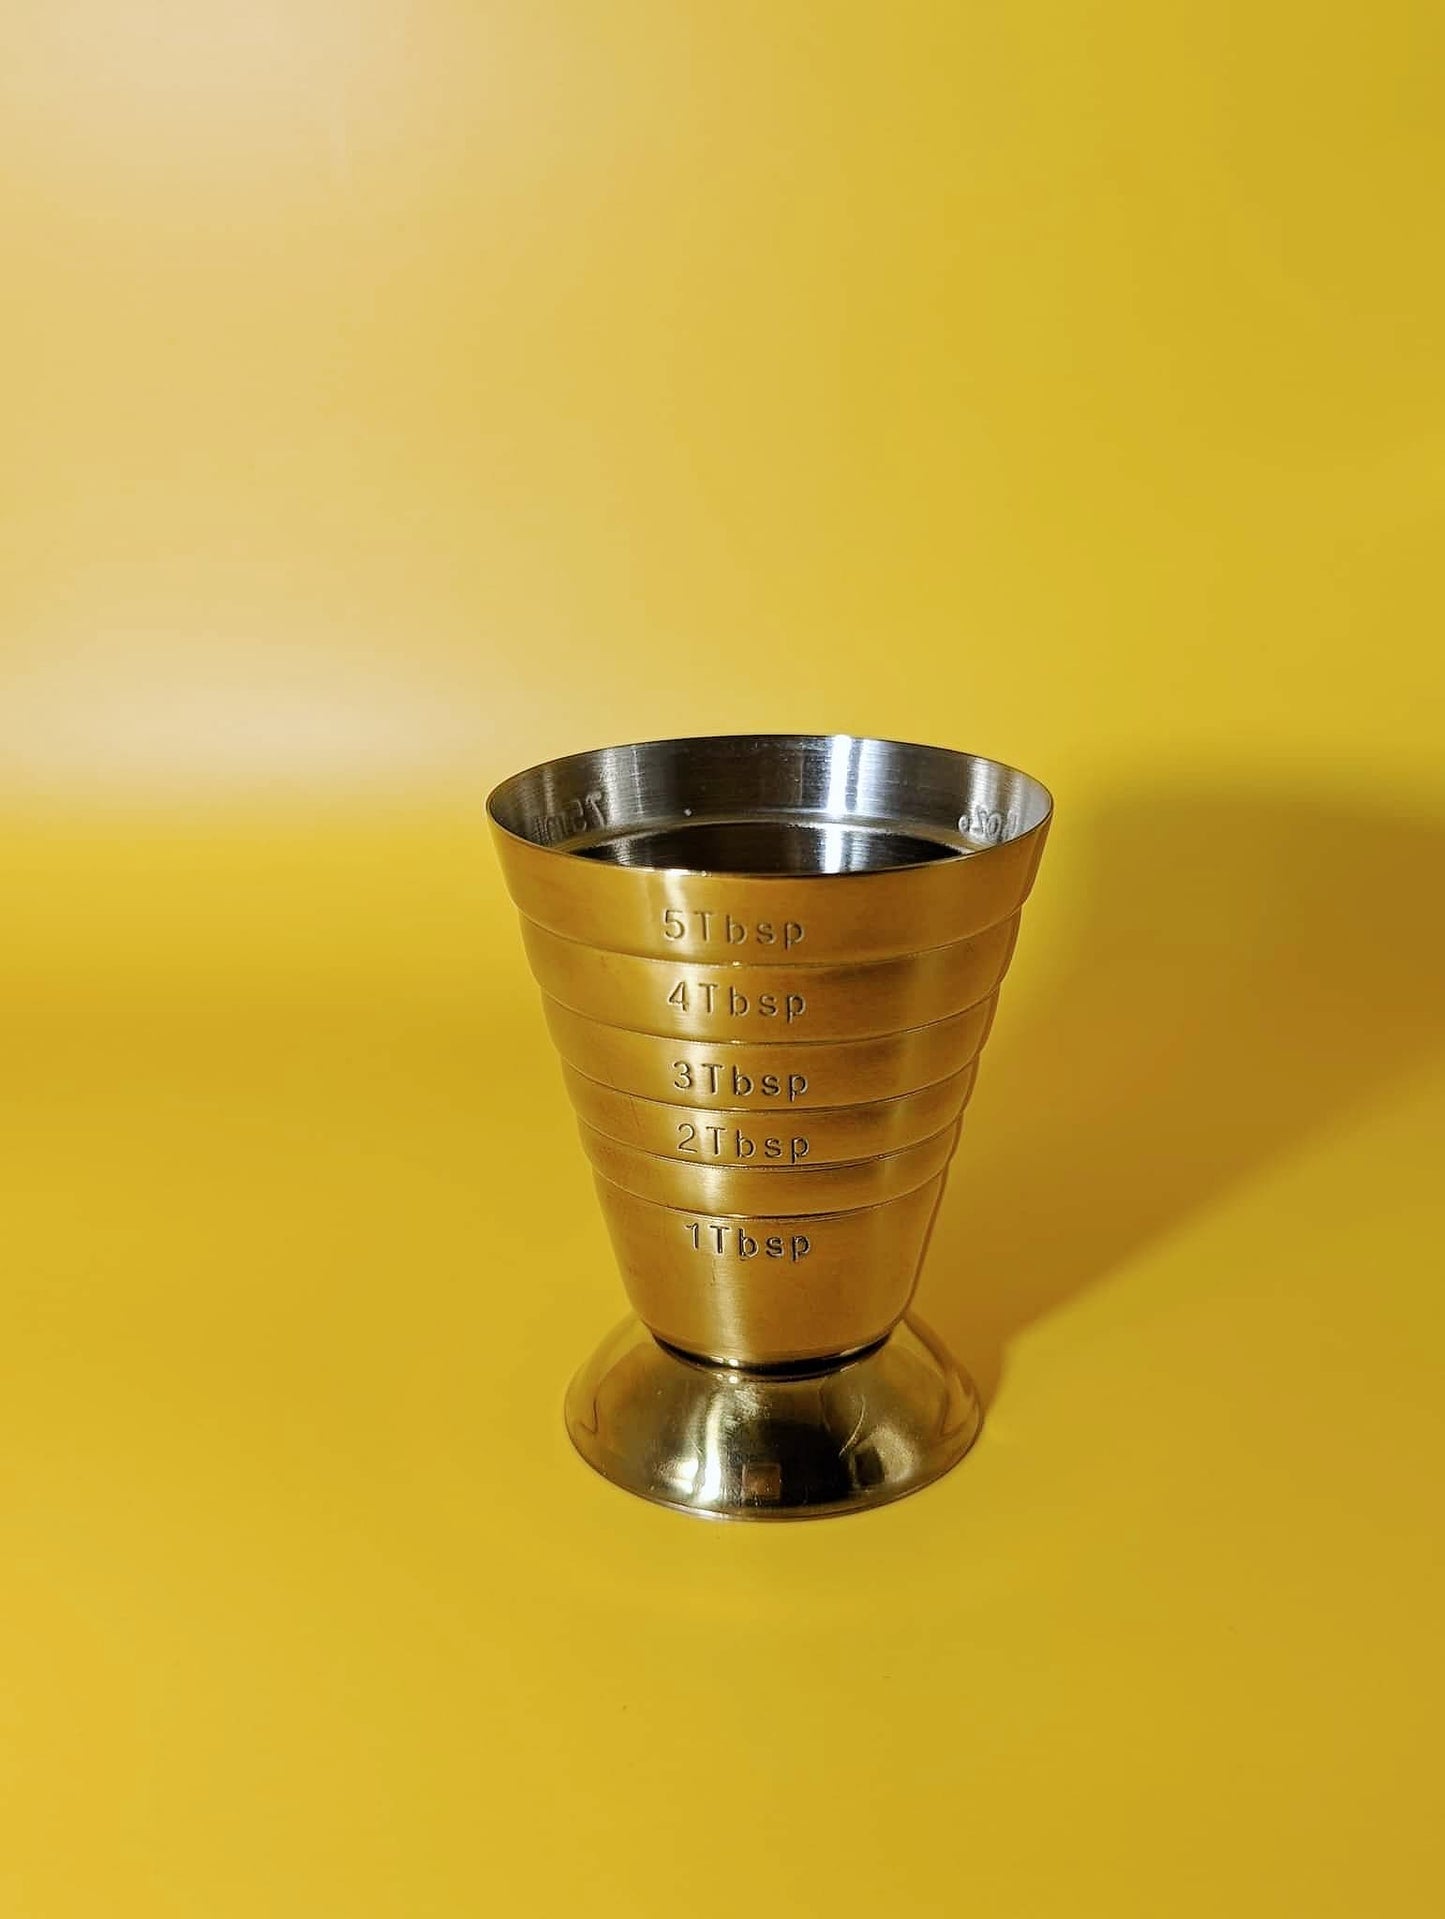
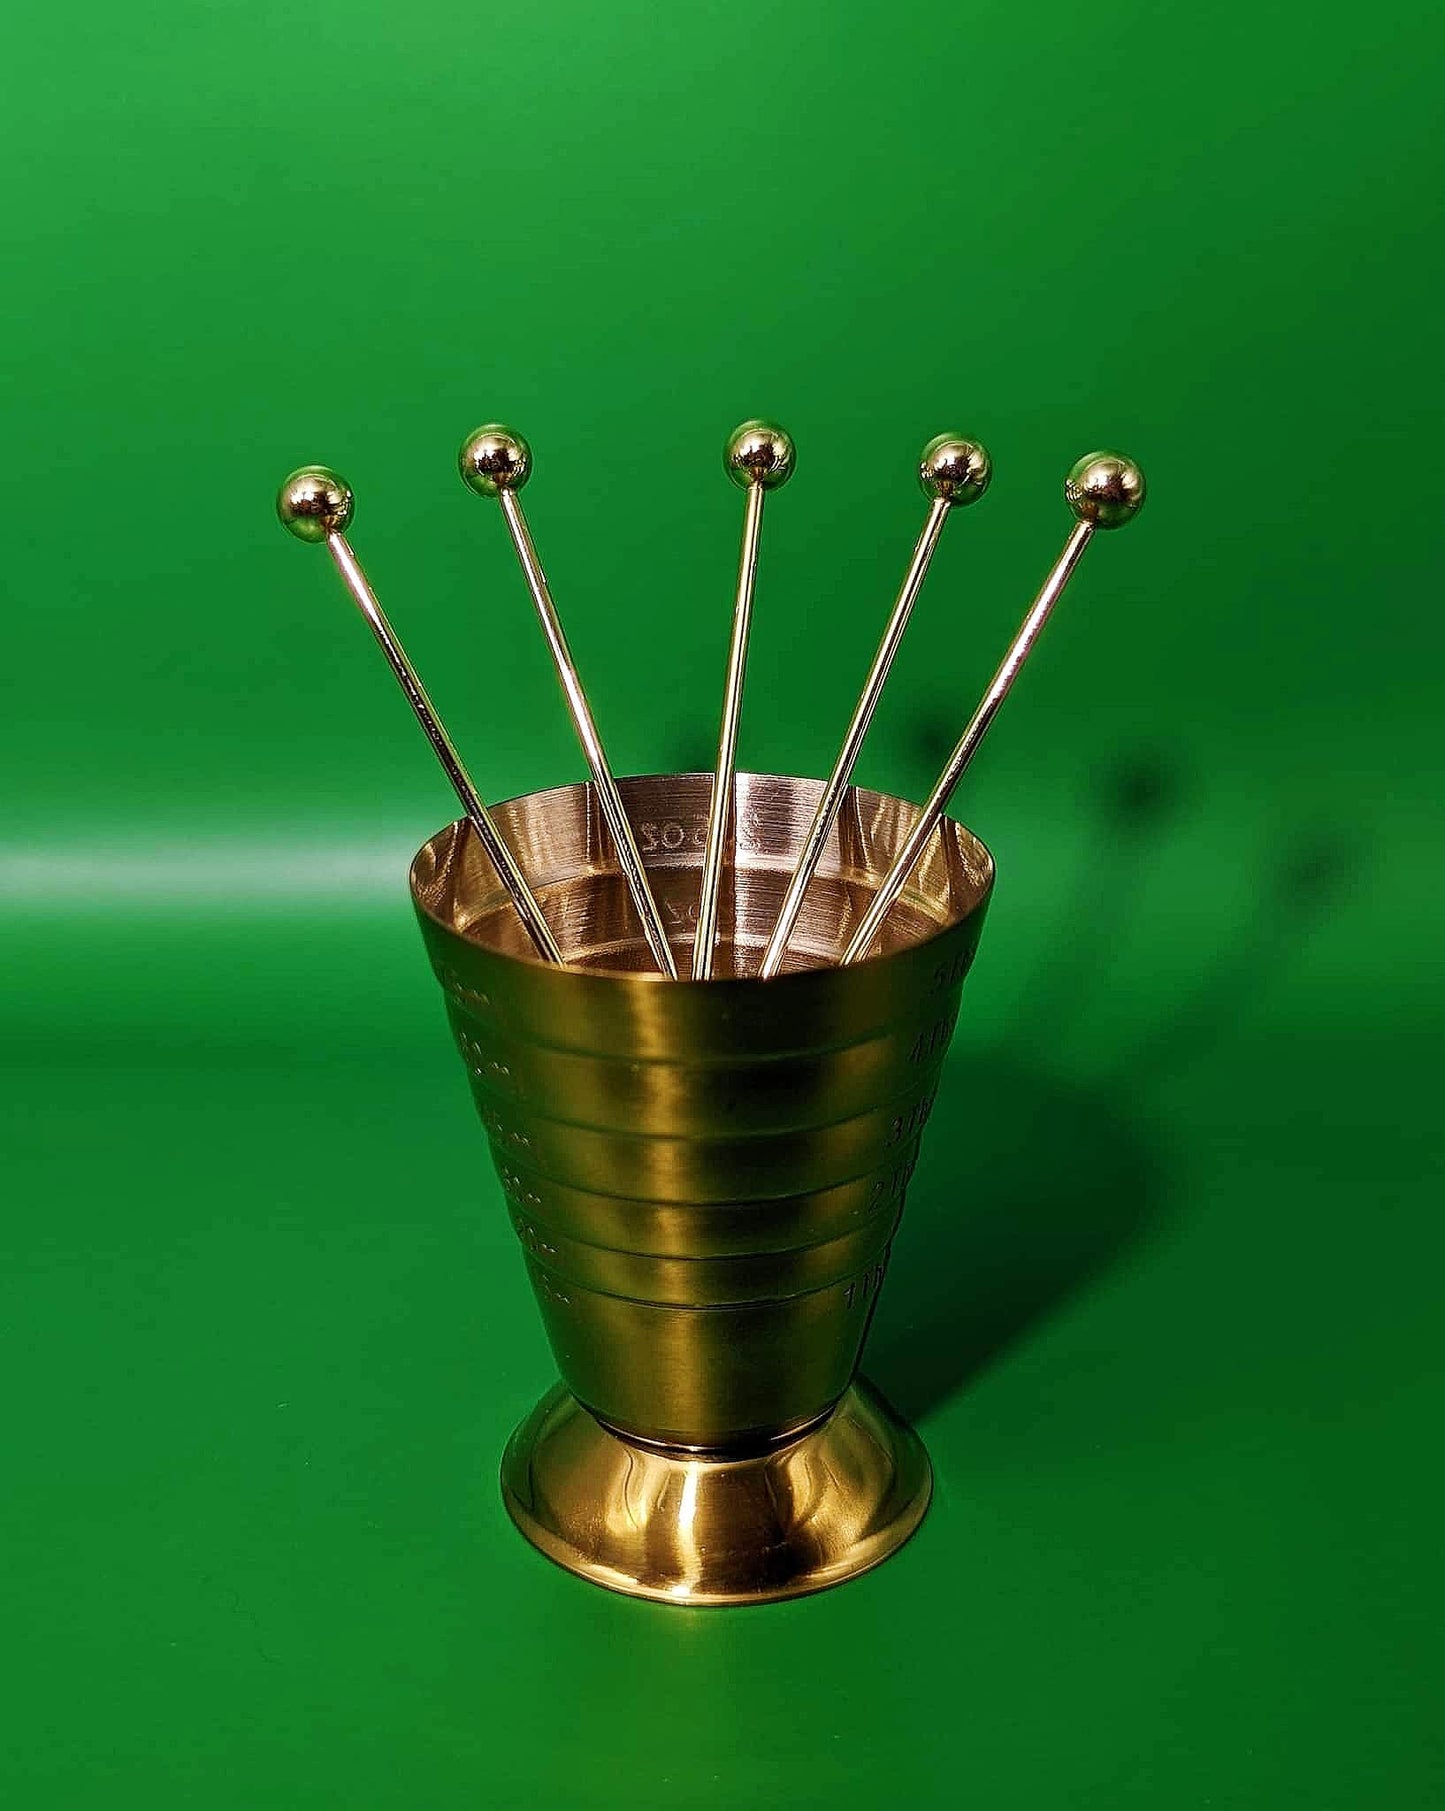
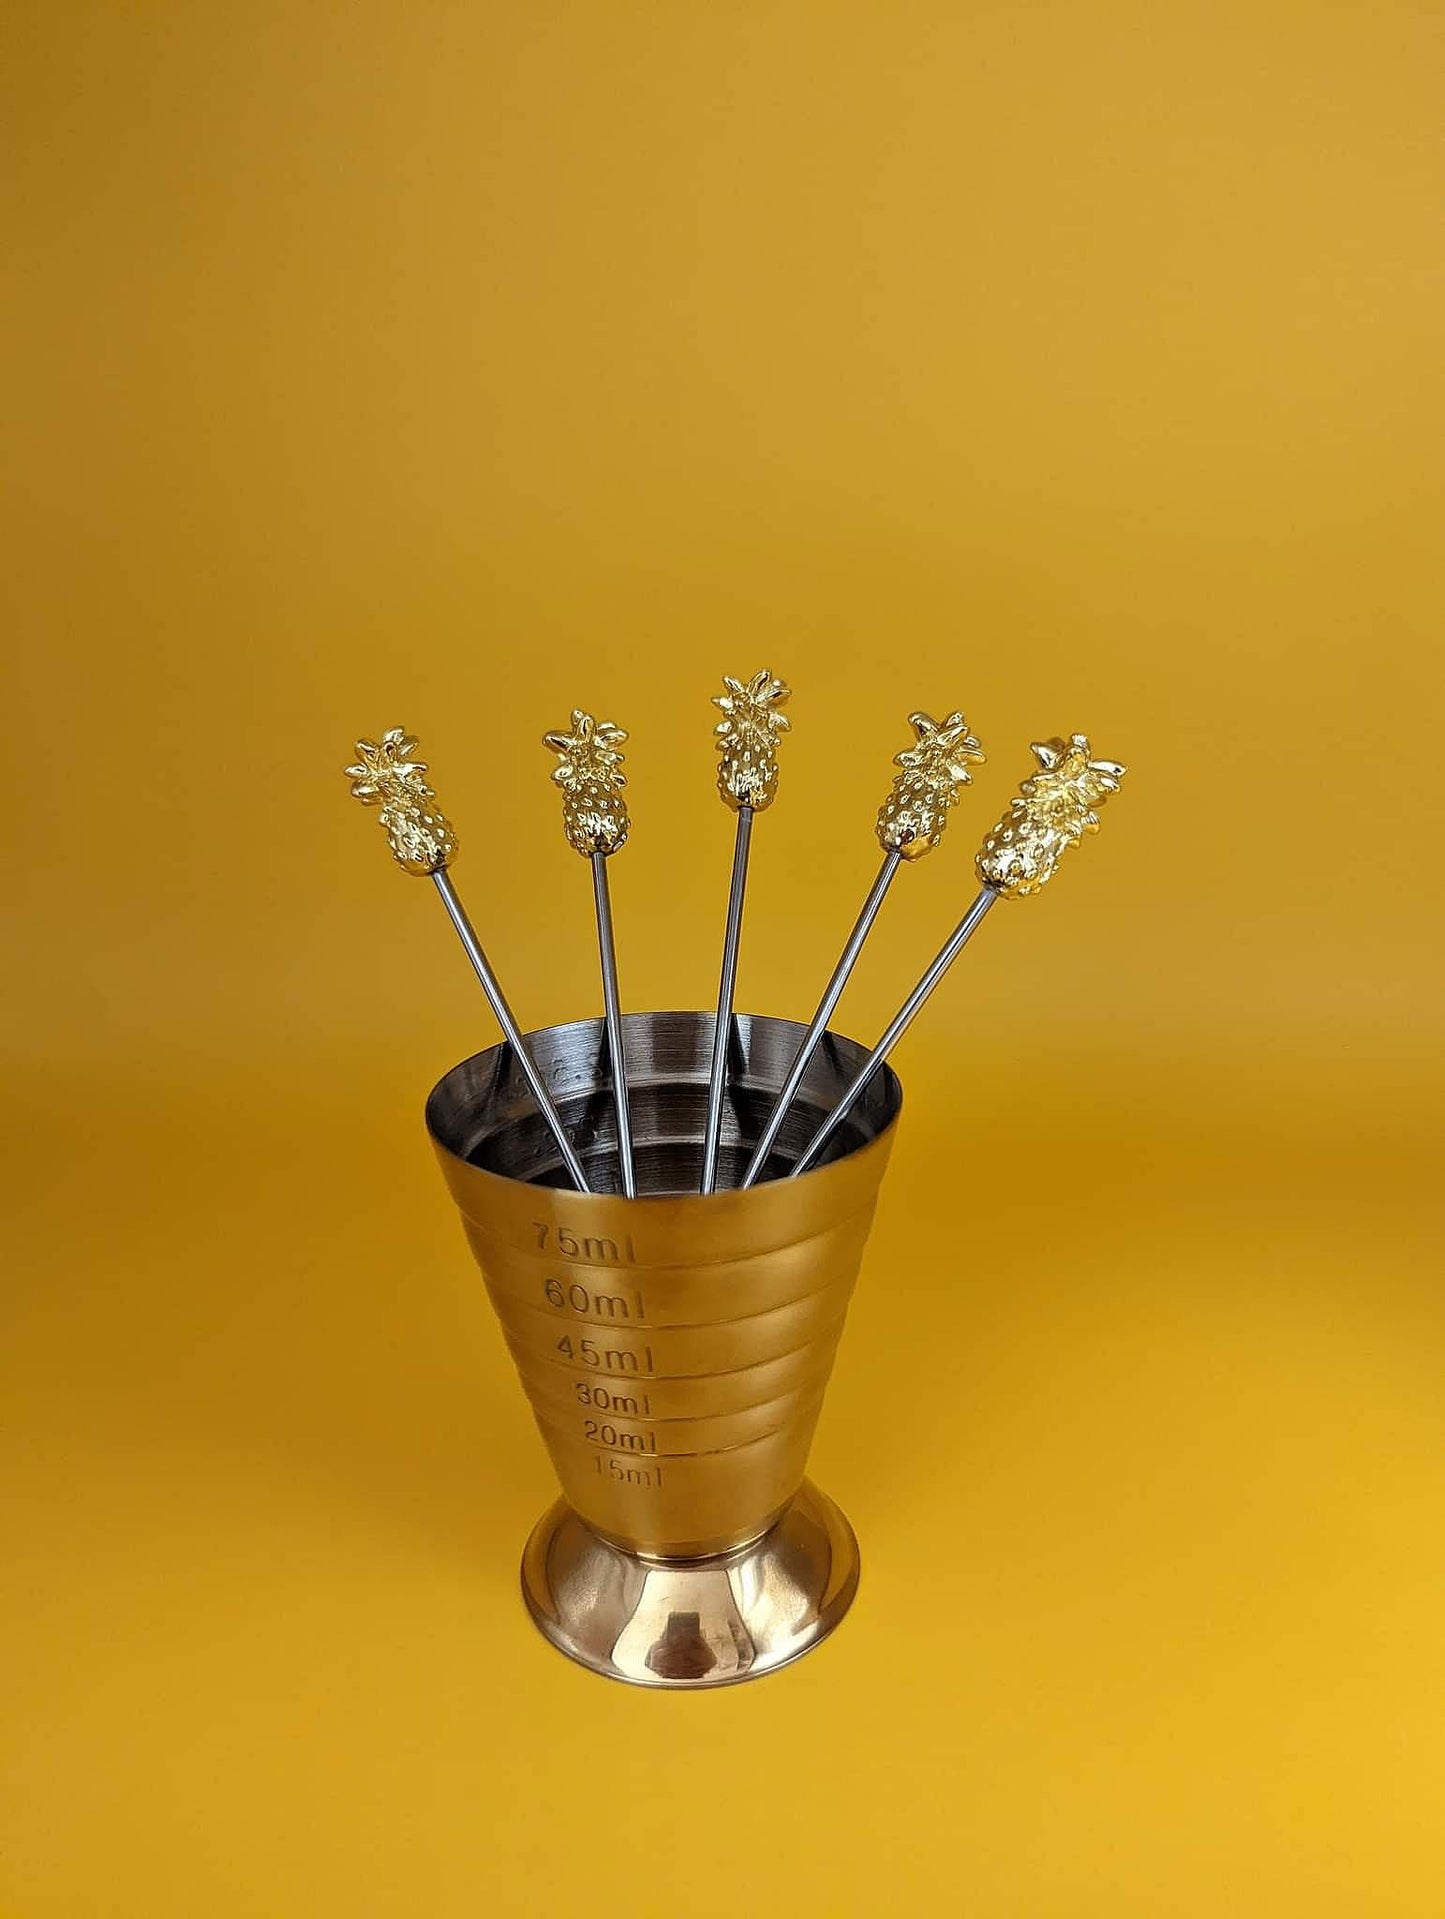
Single jiggers can range from a shot glass to taller options with multiple measurements marked out to allow for greater precision and minimise spillages when measuring single (between 25-35ml in the UK) or double shots.
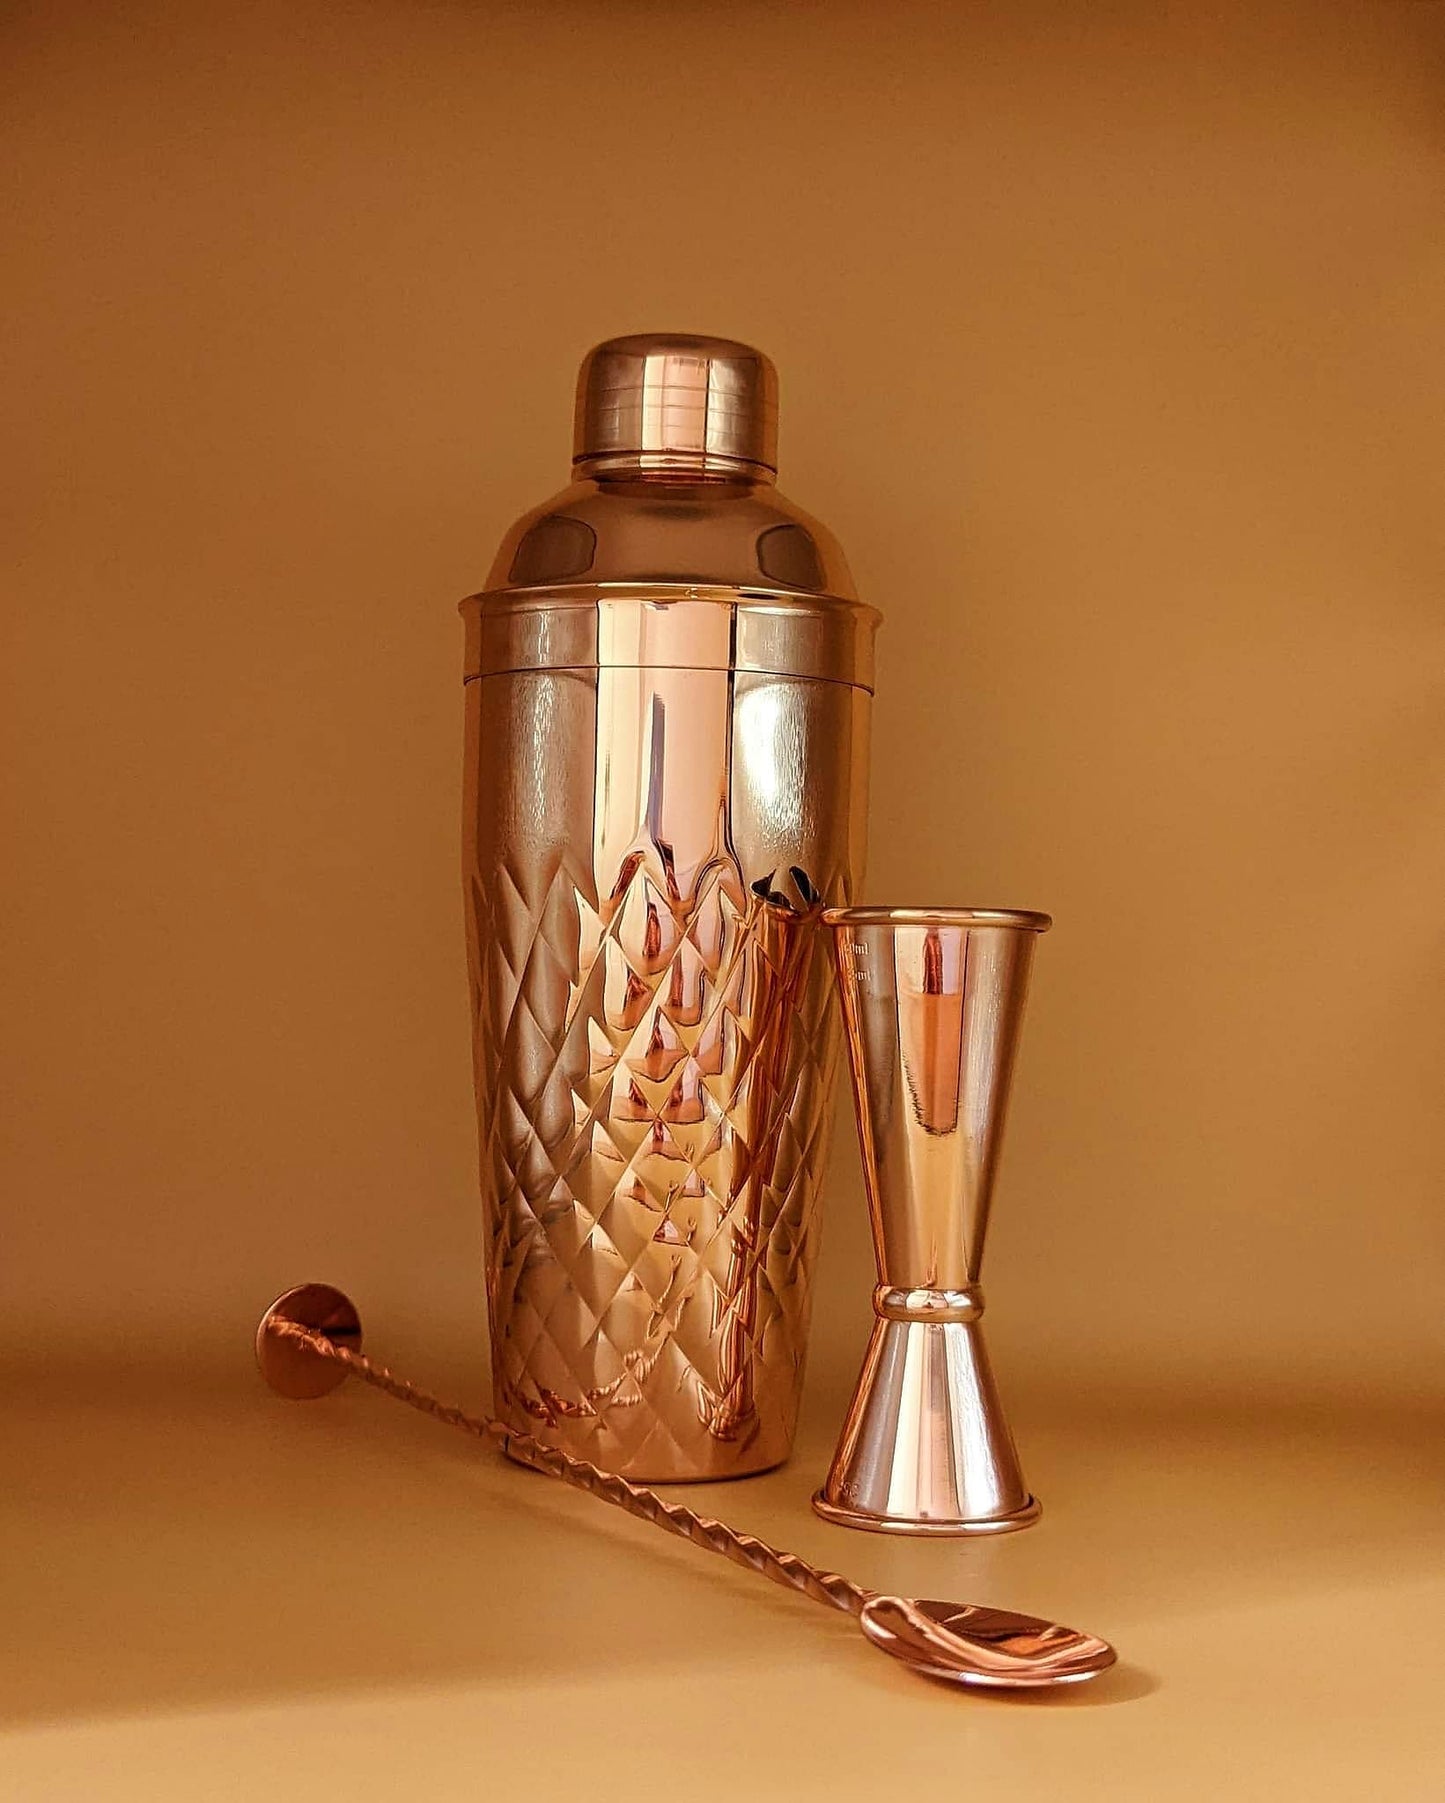
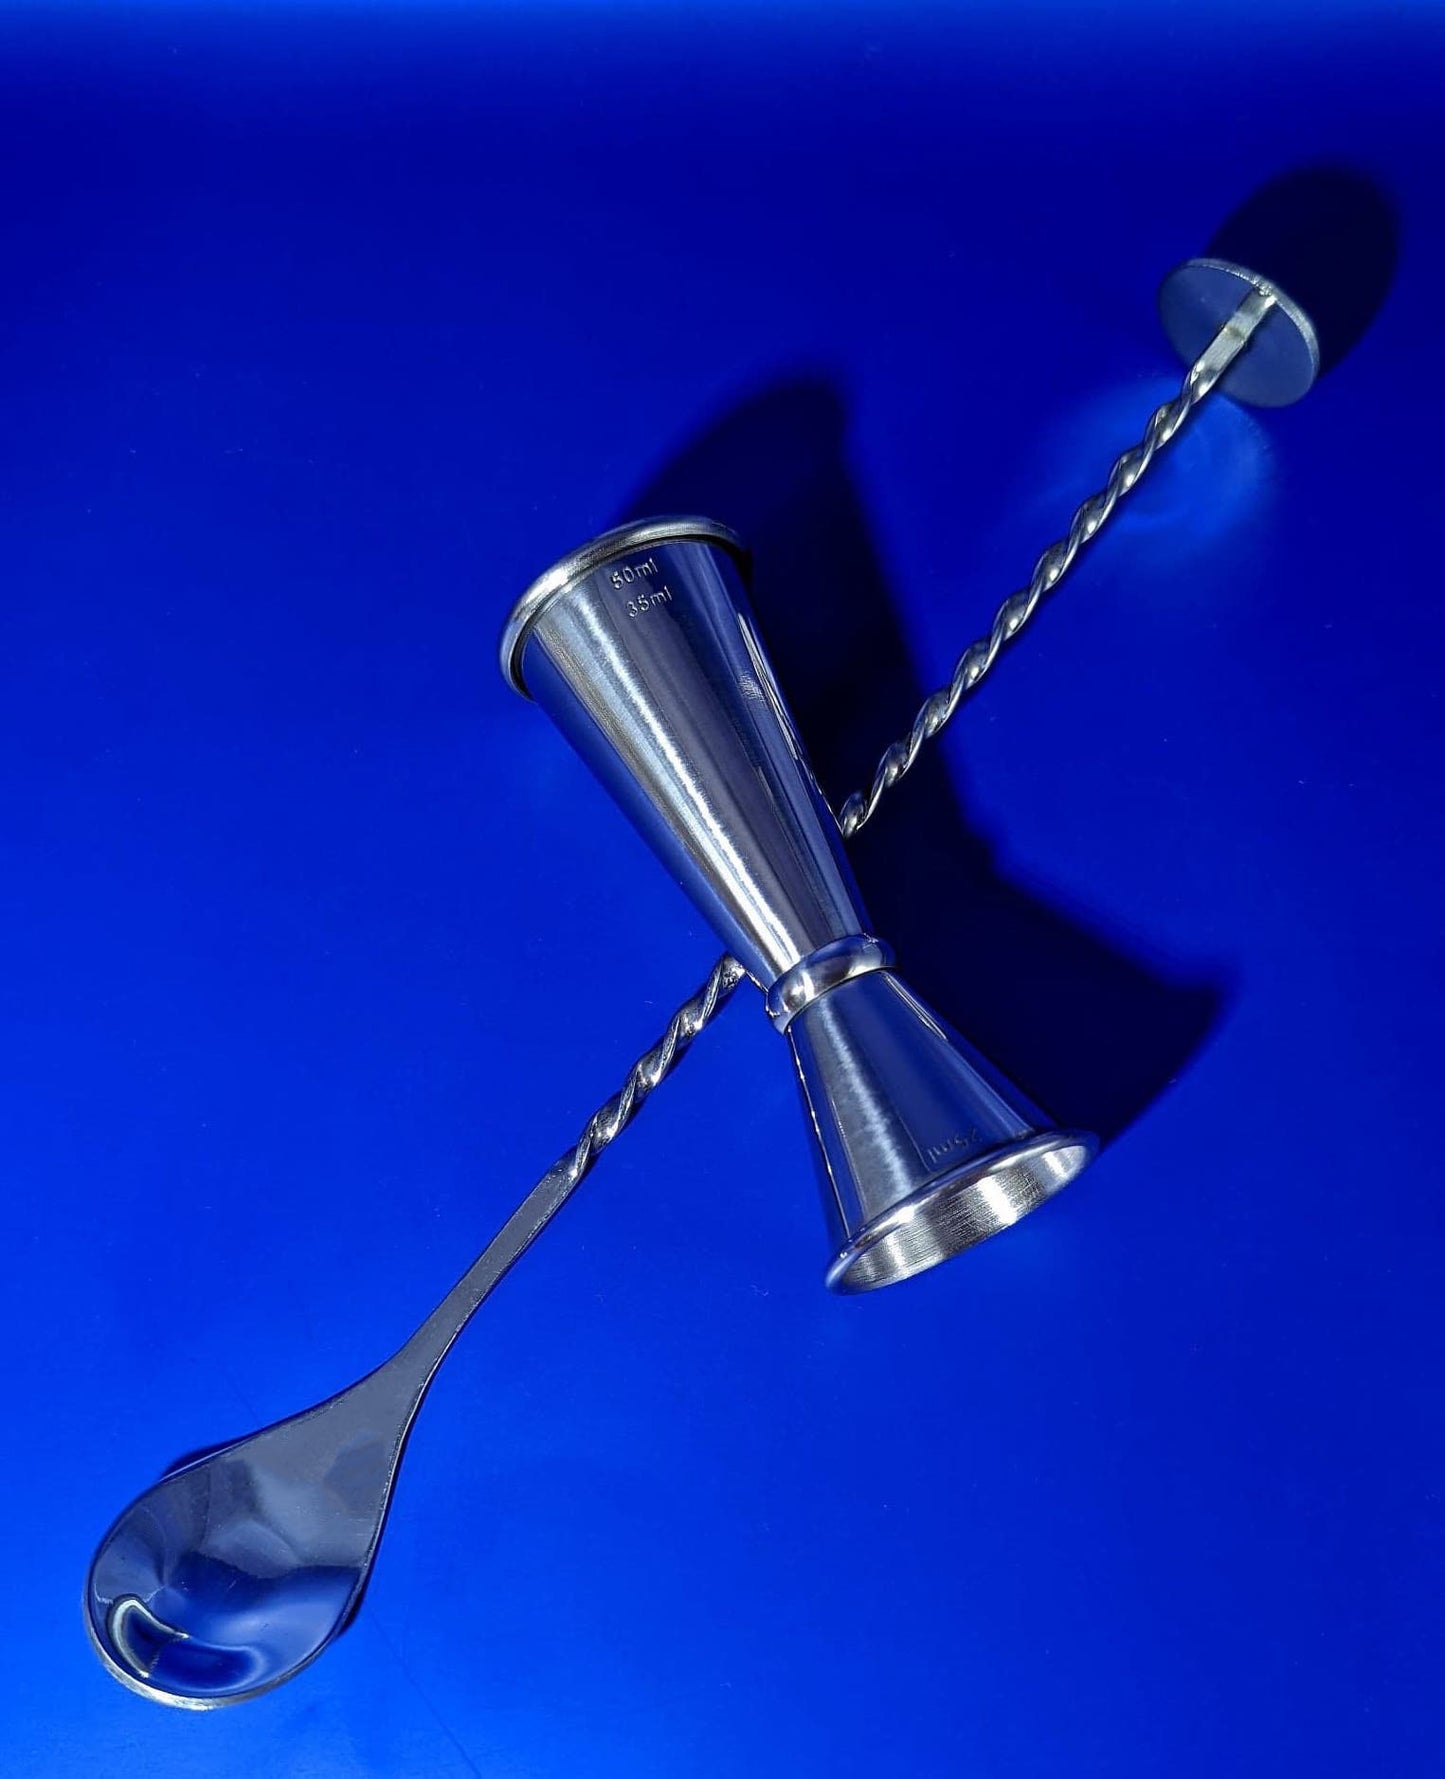
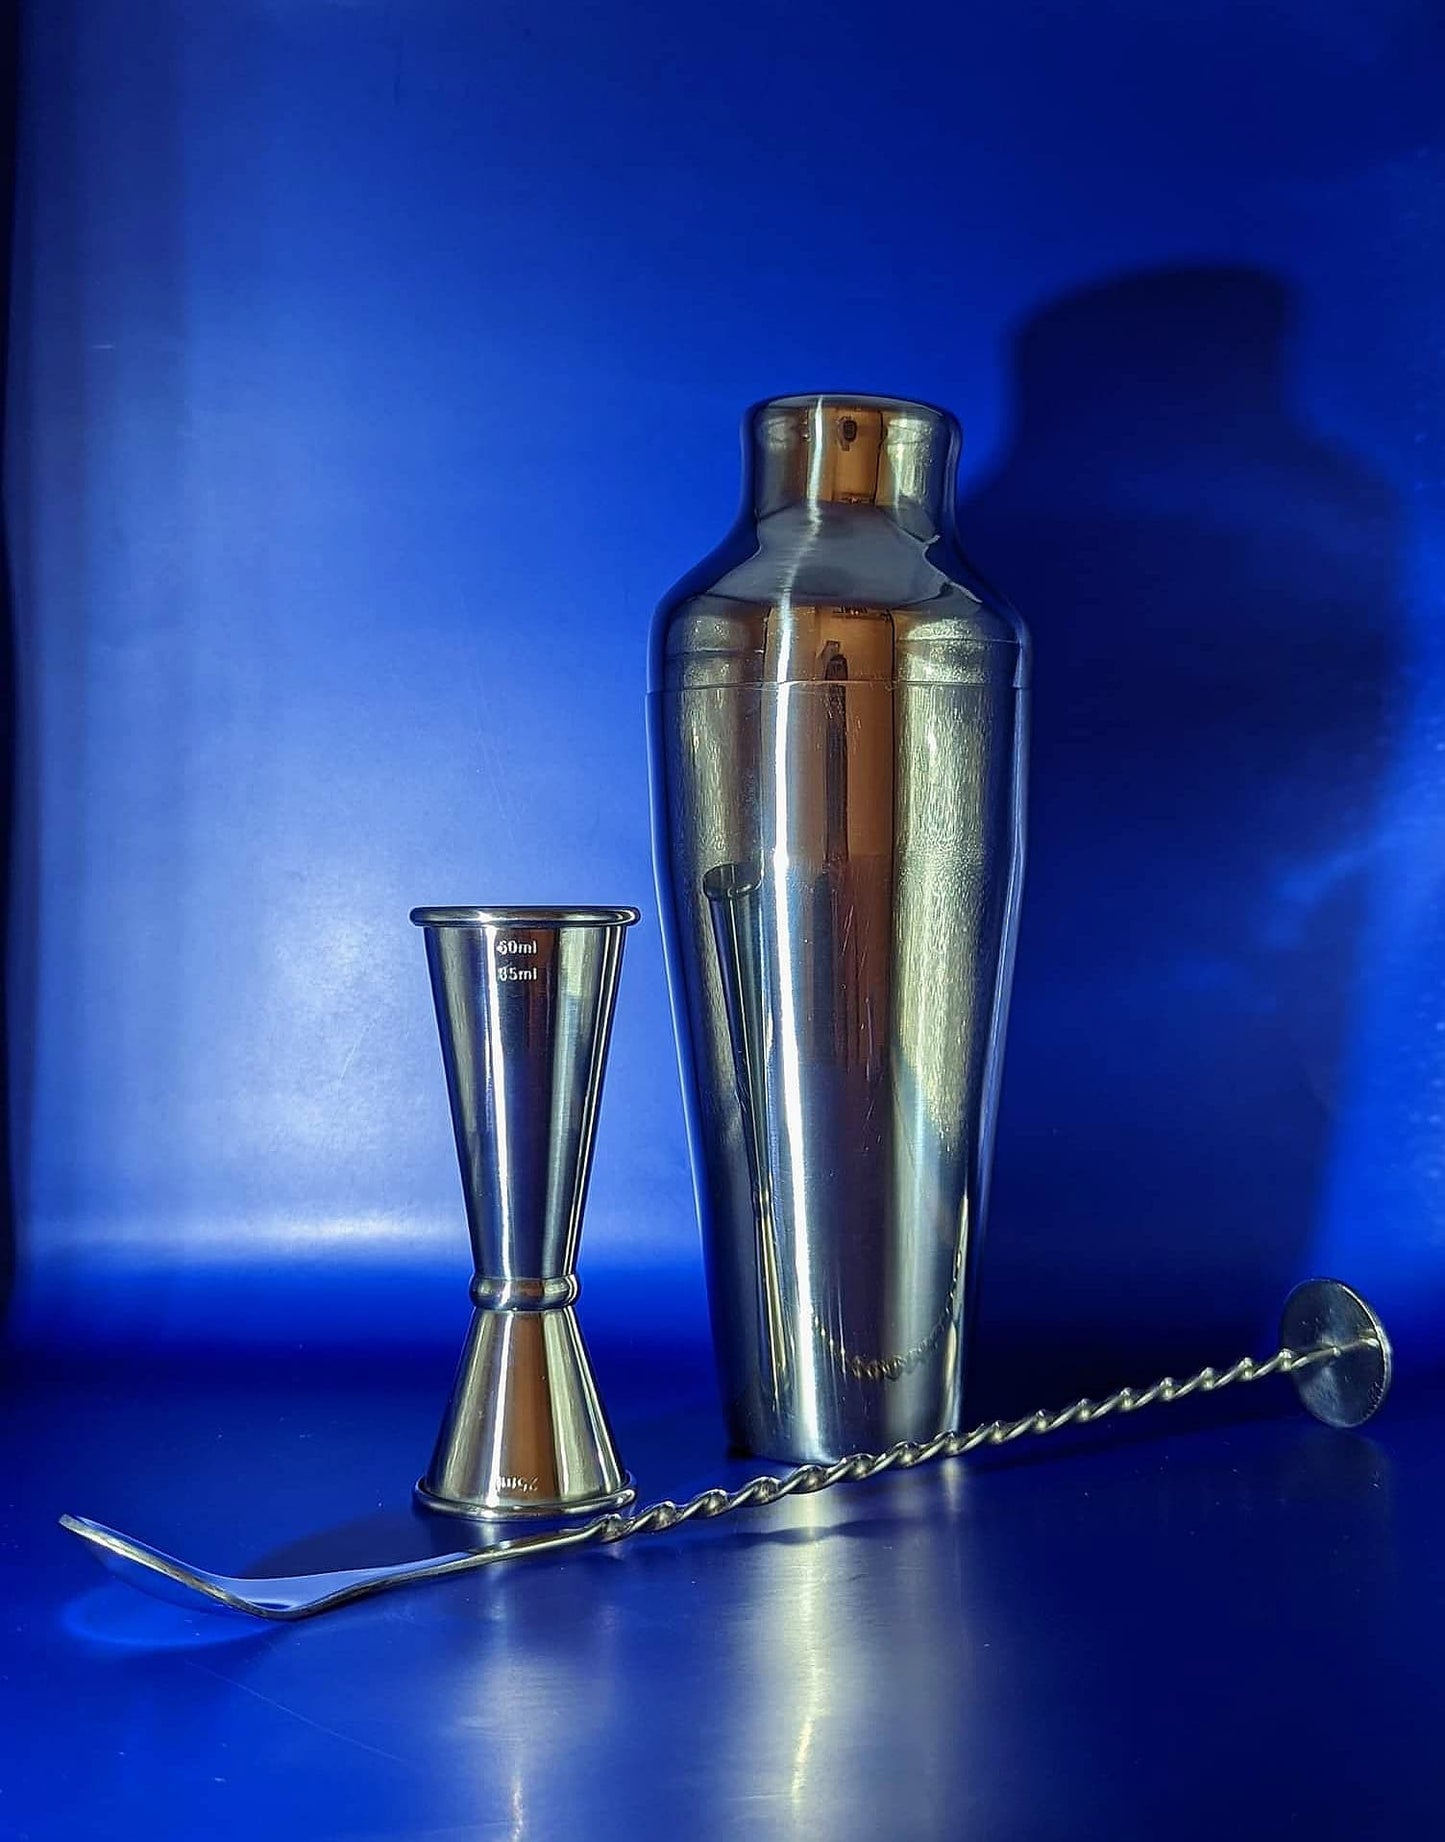
The double jigger is hourglass shaped. There's a bowl on either side to allow for single or double servings.
You can pick from one of the following styles within this category:
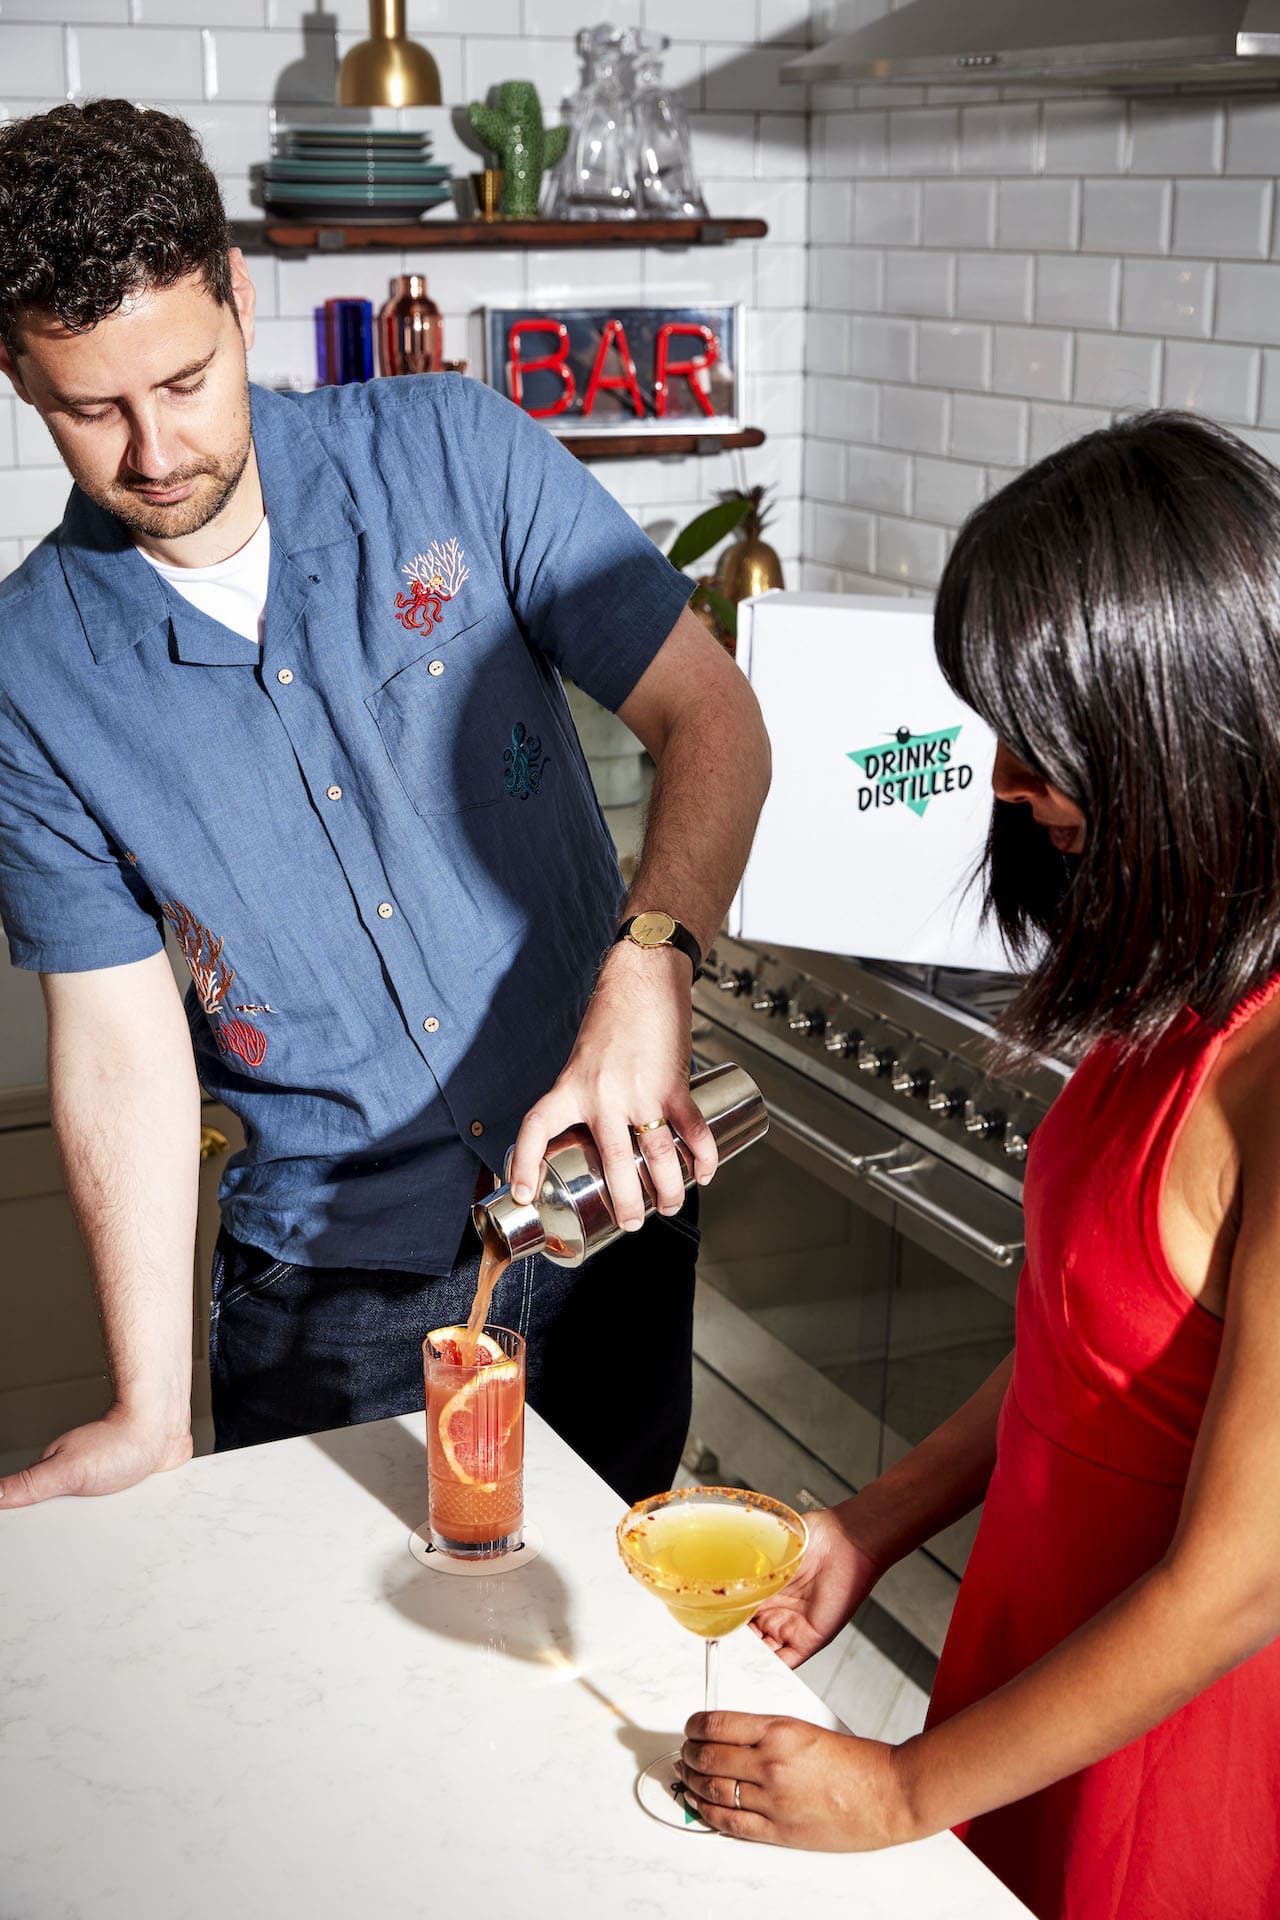
A general rule when it comes to mixing cocktails is to shake cocktails with non-alcoholic mixers and heavy ingredients versus mixing. A shaker ensures that you create an integrated and balanced flavour and that you are aerating the cocktails for a lighter mouthfeel, as well as chilling and diluting it.
Cocktail shakers can come in a range of sizes but if you love hosting a crowd, you should reach for a 700-800ml option. This can yield up to 3 cocktails or 2 generously sized cocktails. Otherwise opt for a 500ml for making one or two drinks at a time.
Choosing the right one is down to personal taste and experience. Here are the most common styles you will come across.
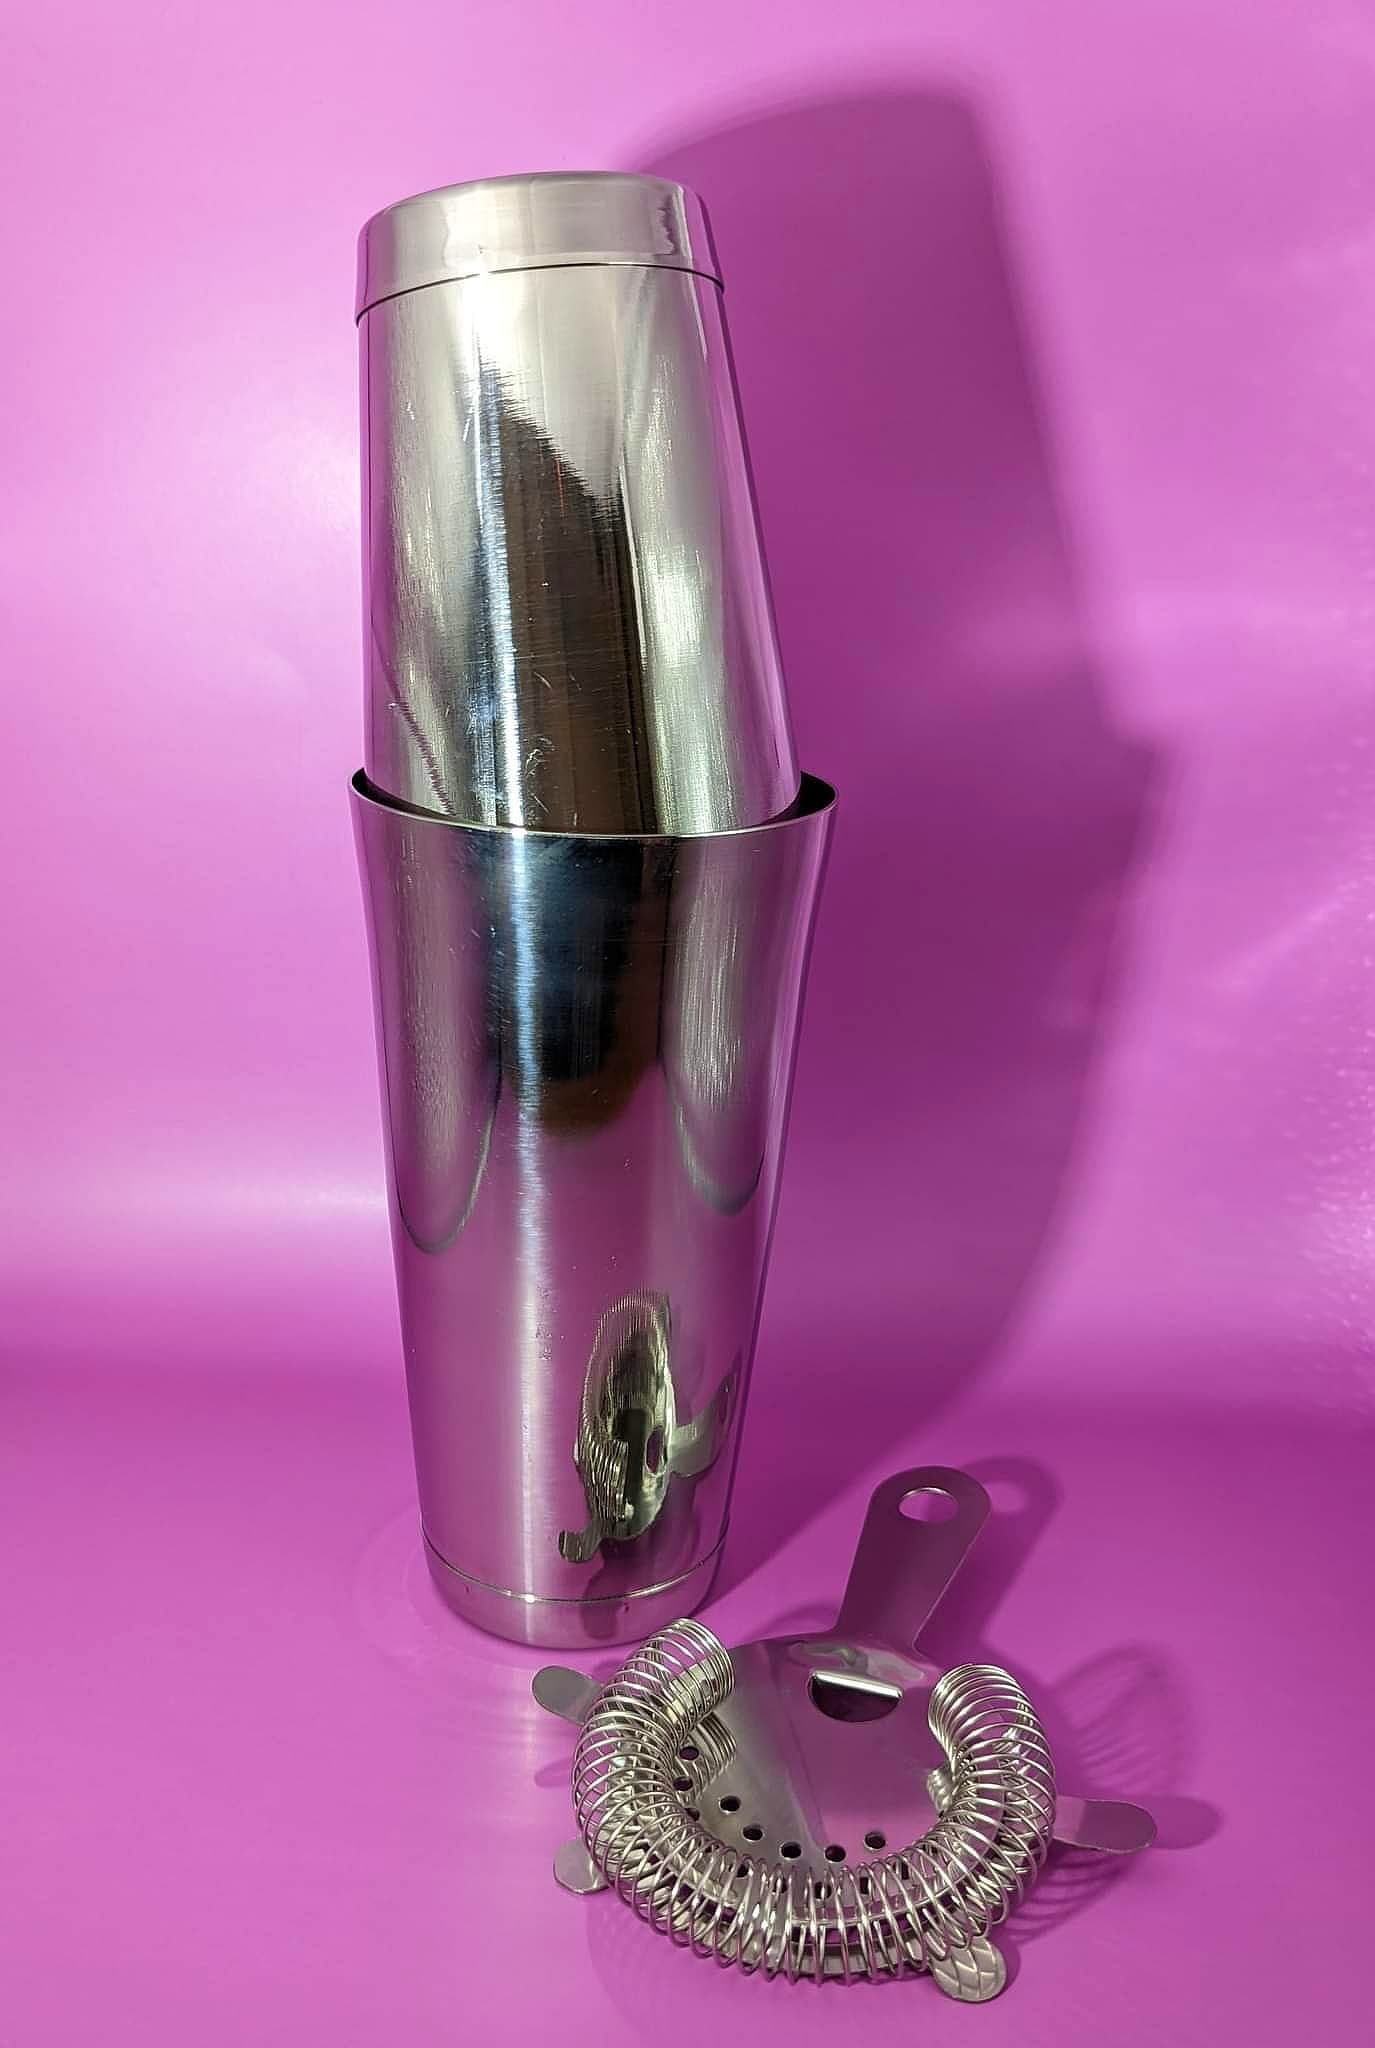
This shaker tends to be the bartender’s go-to thanks to its fuss-free style, helping with speed of service. It comes in two parts and is available in two formats: can-on-can or glass-on-can (which allows you to see the ingredients). The larger half is used for mixing the ingredients and ice together.
You’ll need to master putting on the smaller half of the shaker at an angle. Give it a good smack to ensure it won’t fall apart whilst you’re shaking (and hold on tight, unless you want to redecorate).
Opt for a metal tin when going for a Boston shaker. Glass doesn’t lock as tightly as metal and won’t chill your drink as much. Metal tins aren’t as heavy and there’s less risk of breakage.
If you aren’t quite up to the challenge of mastering a Boston Shaker, the Cobbler is a smaller shaker that tends to be easier to hold and shake with. It features a tin and a top with a built-in strainer. It also has a cap to avoid spillages when shaking.
Make sure you have a back up strainer on hand with this shaker, as its built in strainer does not always pick up smaller debris (like seeds).
Similar to the Boston shaker, the lesser-seen French style comes in two halves and requires a separate strainer. Its art deco silhouette could be easily confused for a Cobbler (which this design predates by only a few years).
Like a Boston shaker, the two halves fit together to form a seal. However, with French shakers, the top tapers inward to join with the bottom. This makes it a little less intimidating for beginners to master. Just be aware that this style tends to have less capacity than a Boston shaker.


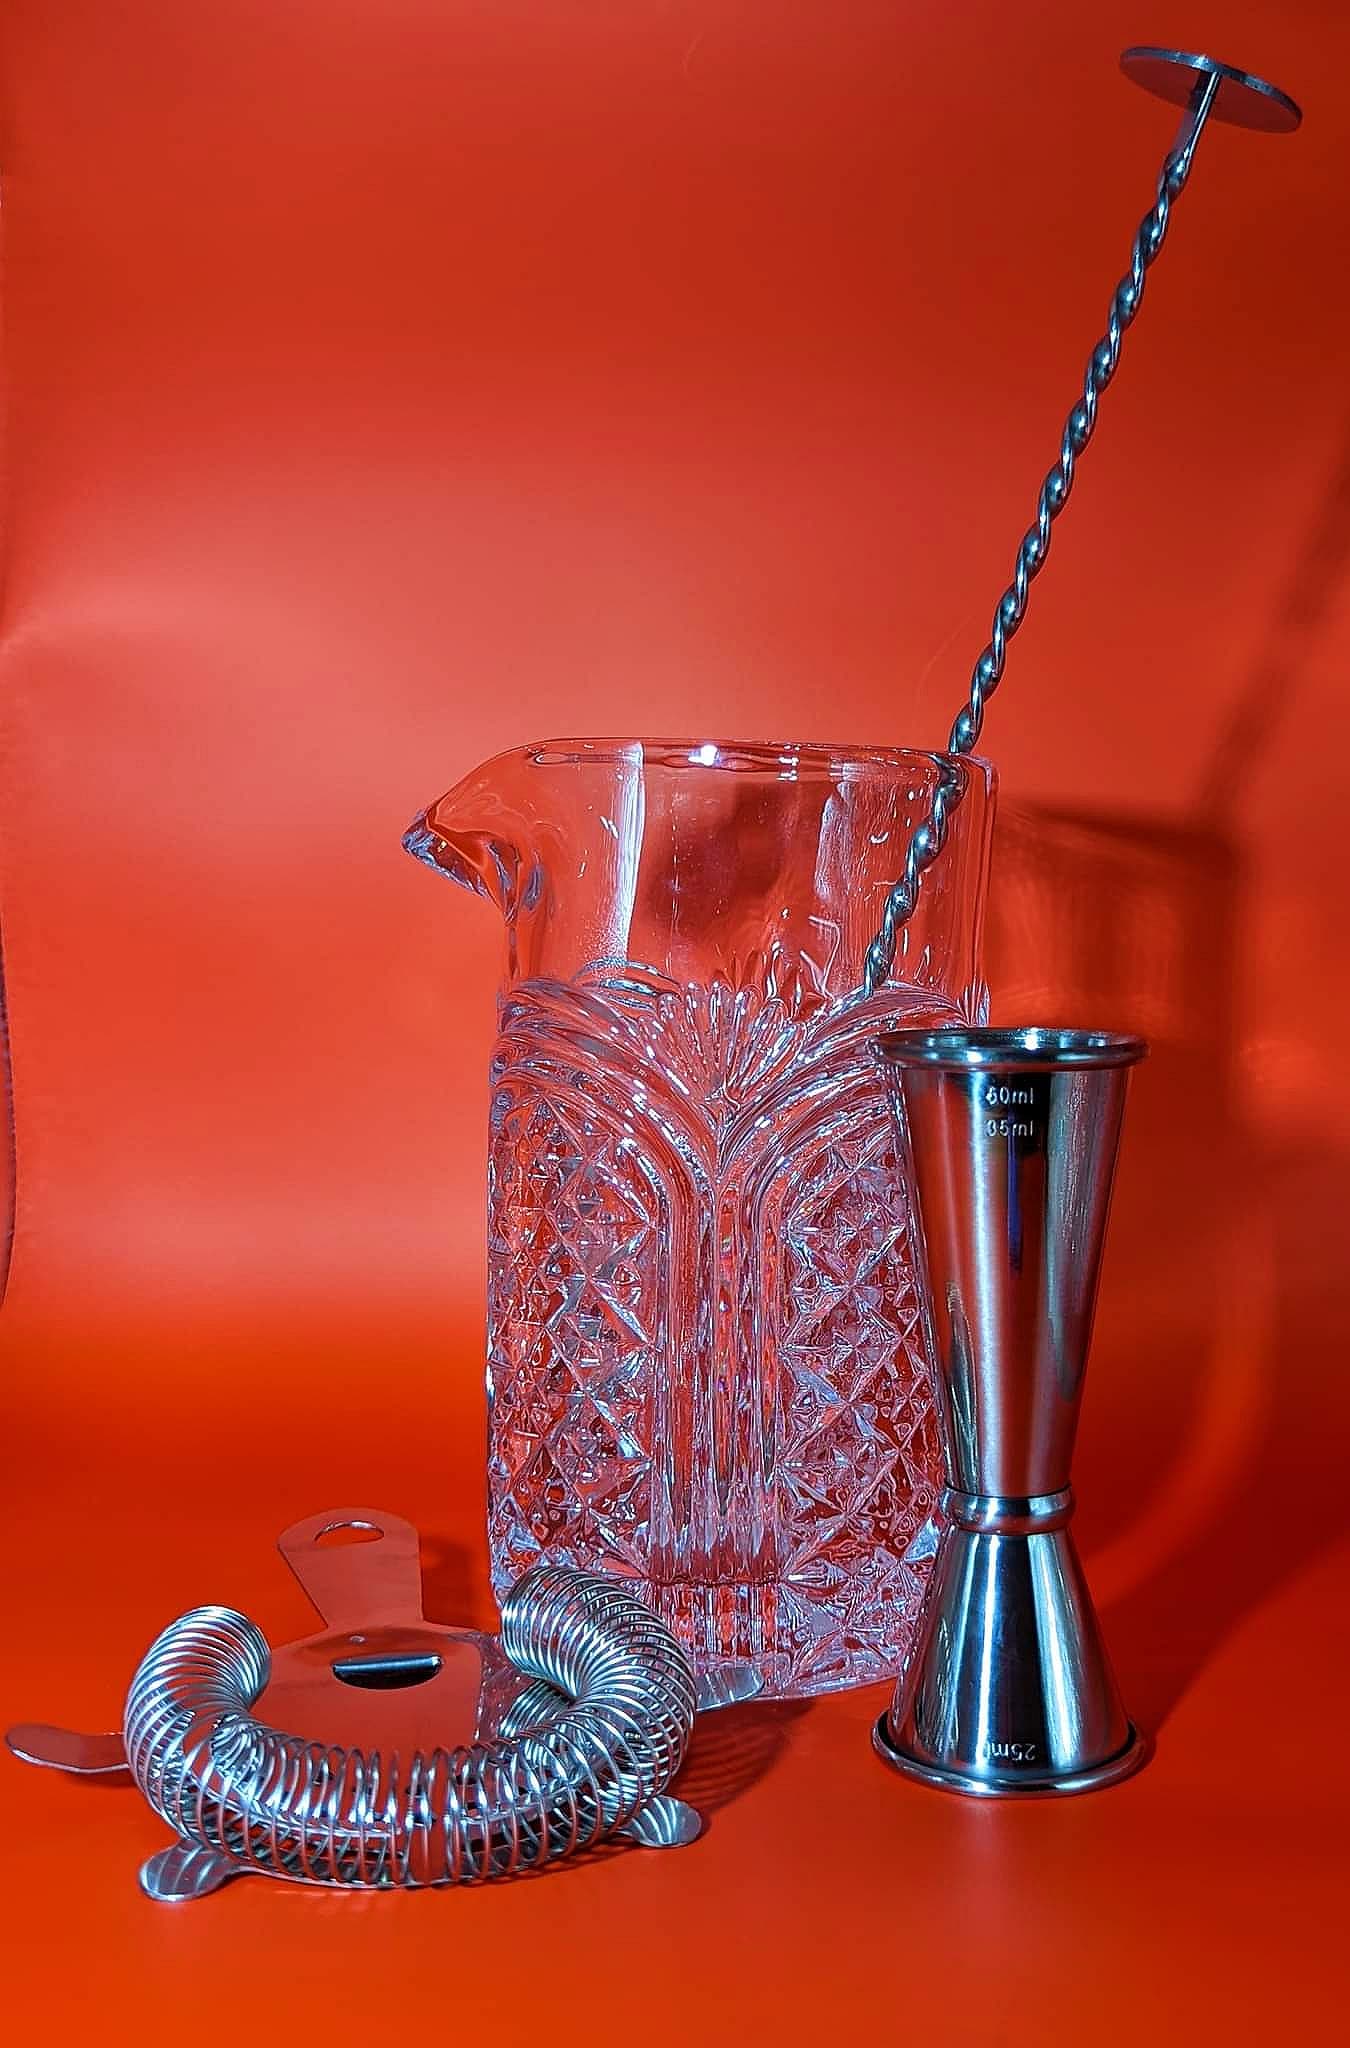
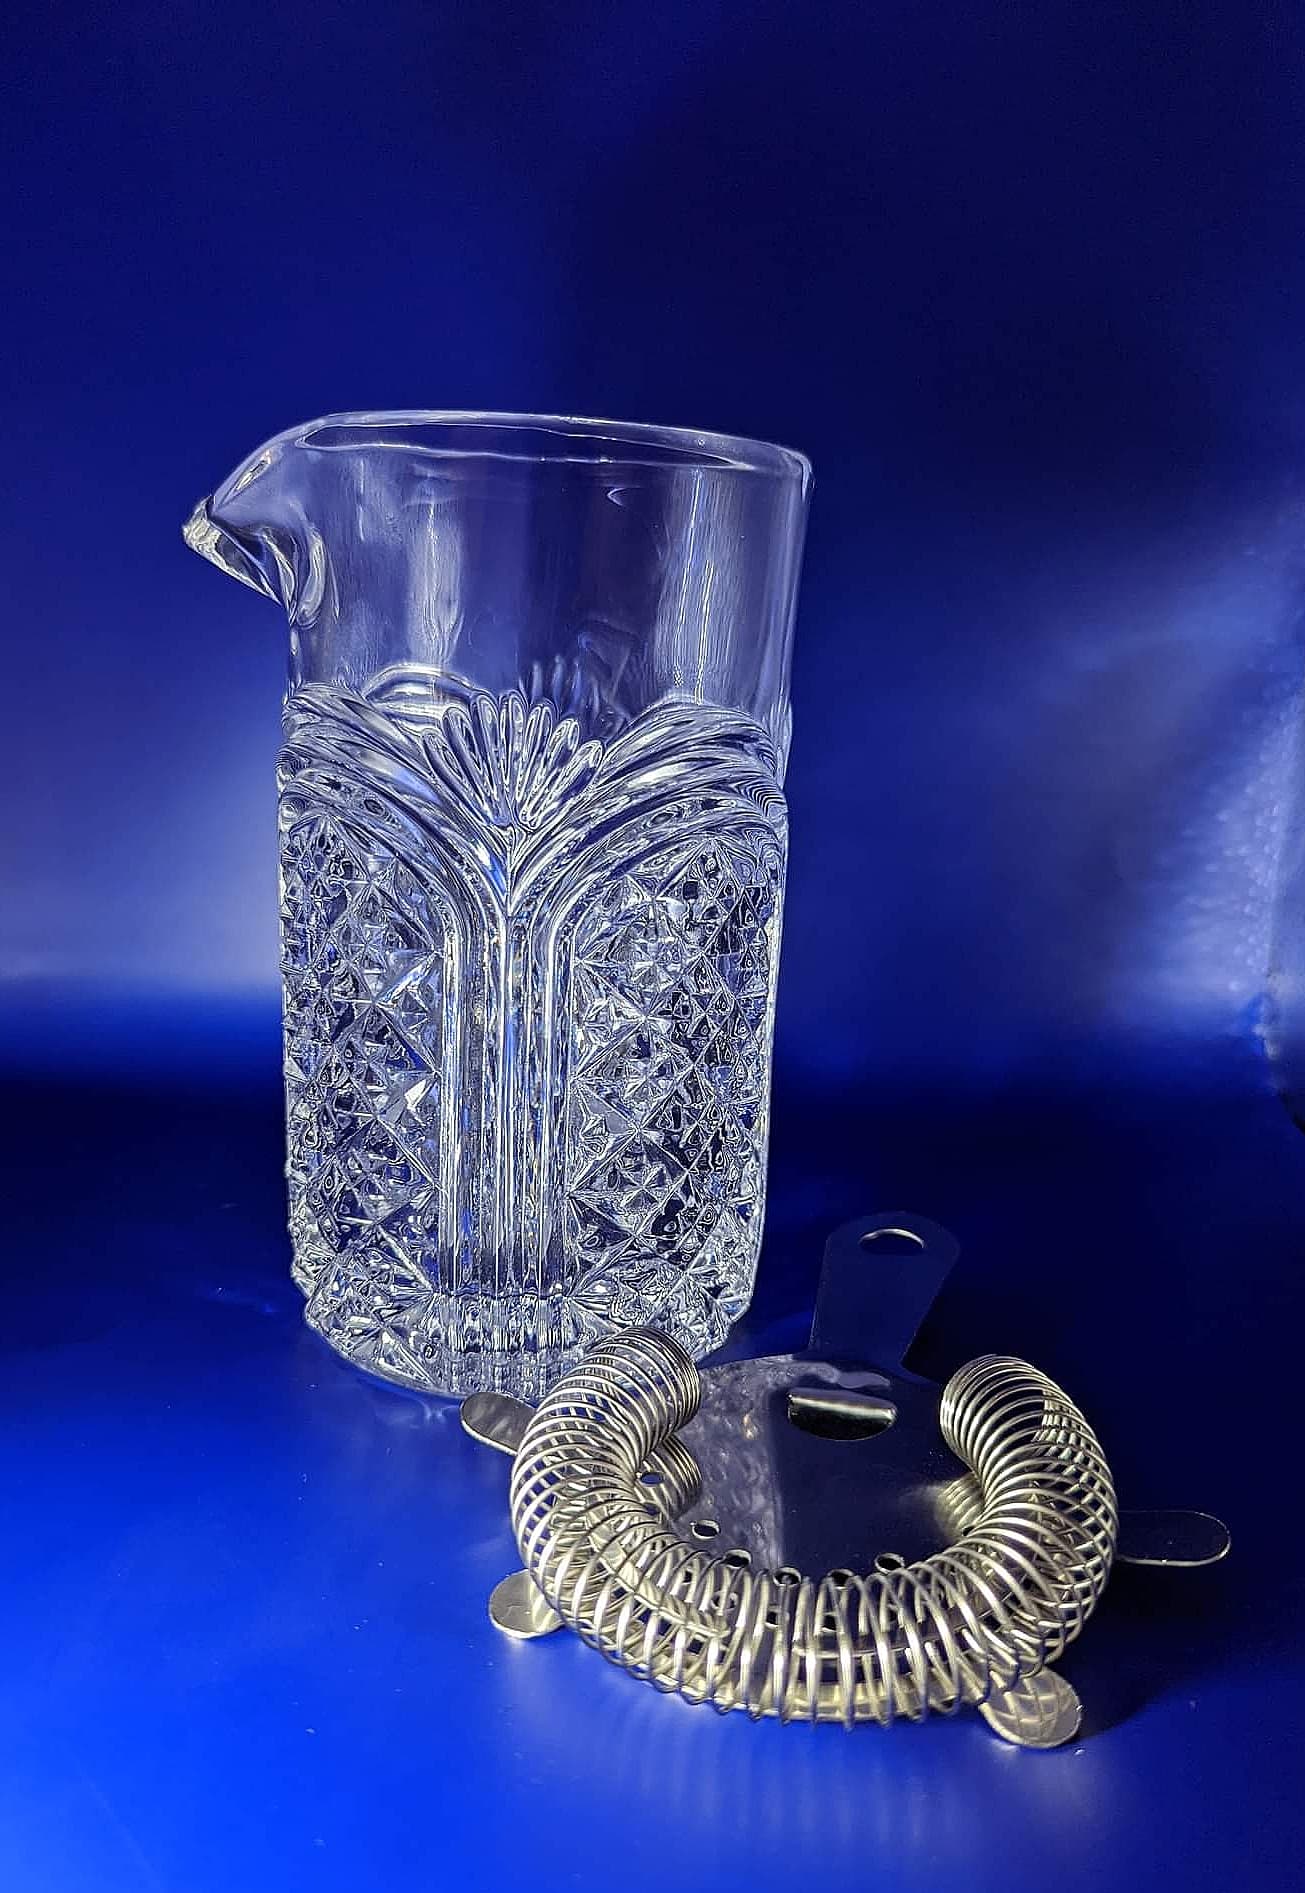
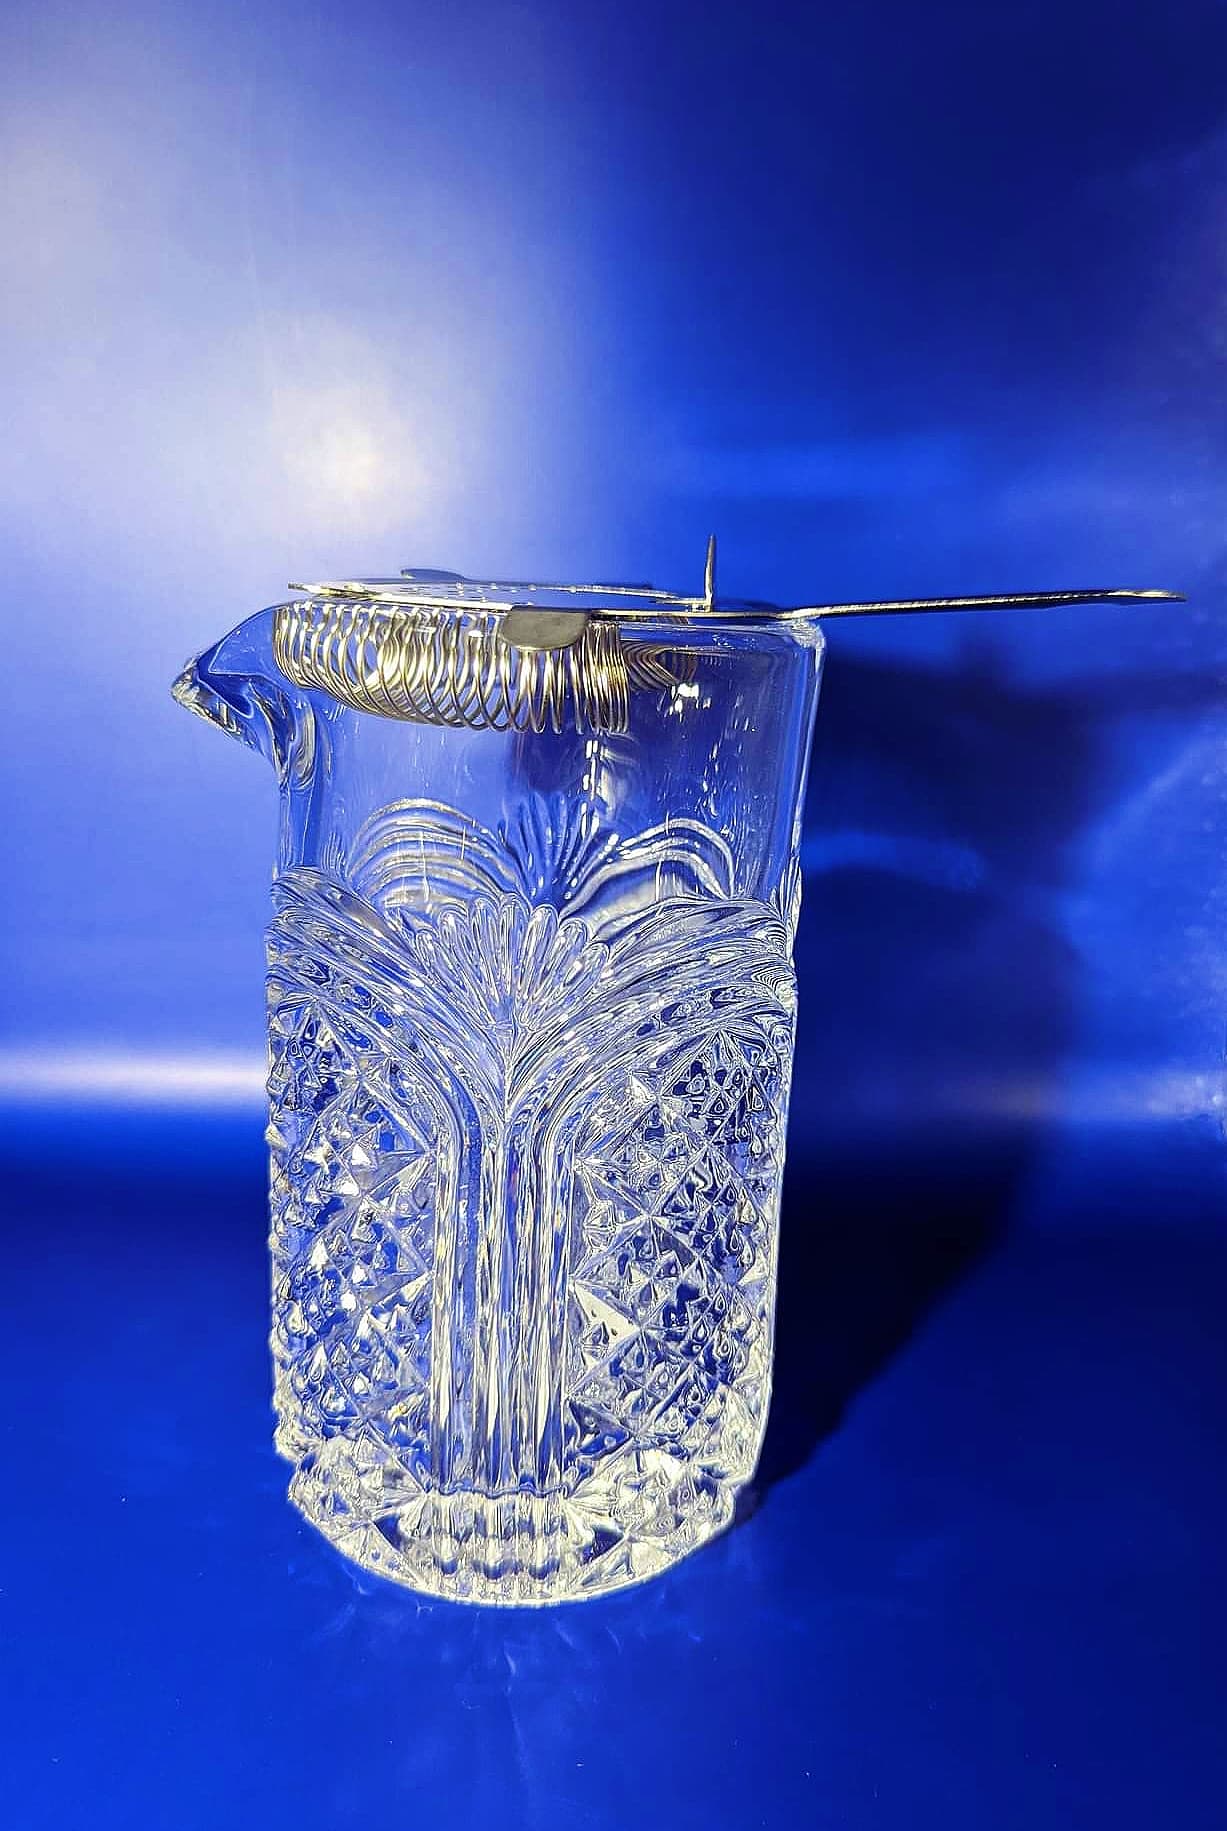
For those of you who are fans of spirit-forward drinks like the Martini and the Manhattan, you shouldn’t forget this essential. They may not have as much dramatic flair as a shaker, but mixing glasses ensure you maintain the texture and viscosity of your cocktail. They also control dilution, and you can literally see the magic happen before your eyes!
Make sure your mixing glass has a sturdy base so that it doesn’t slide around when you mix.

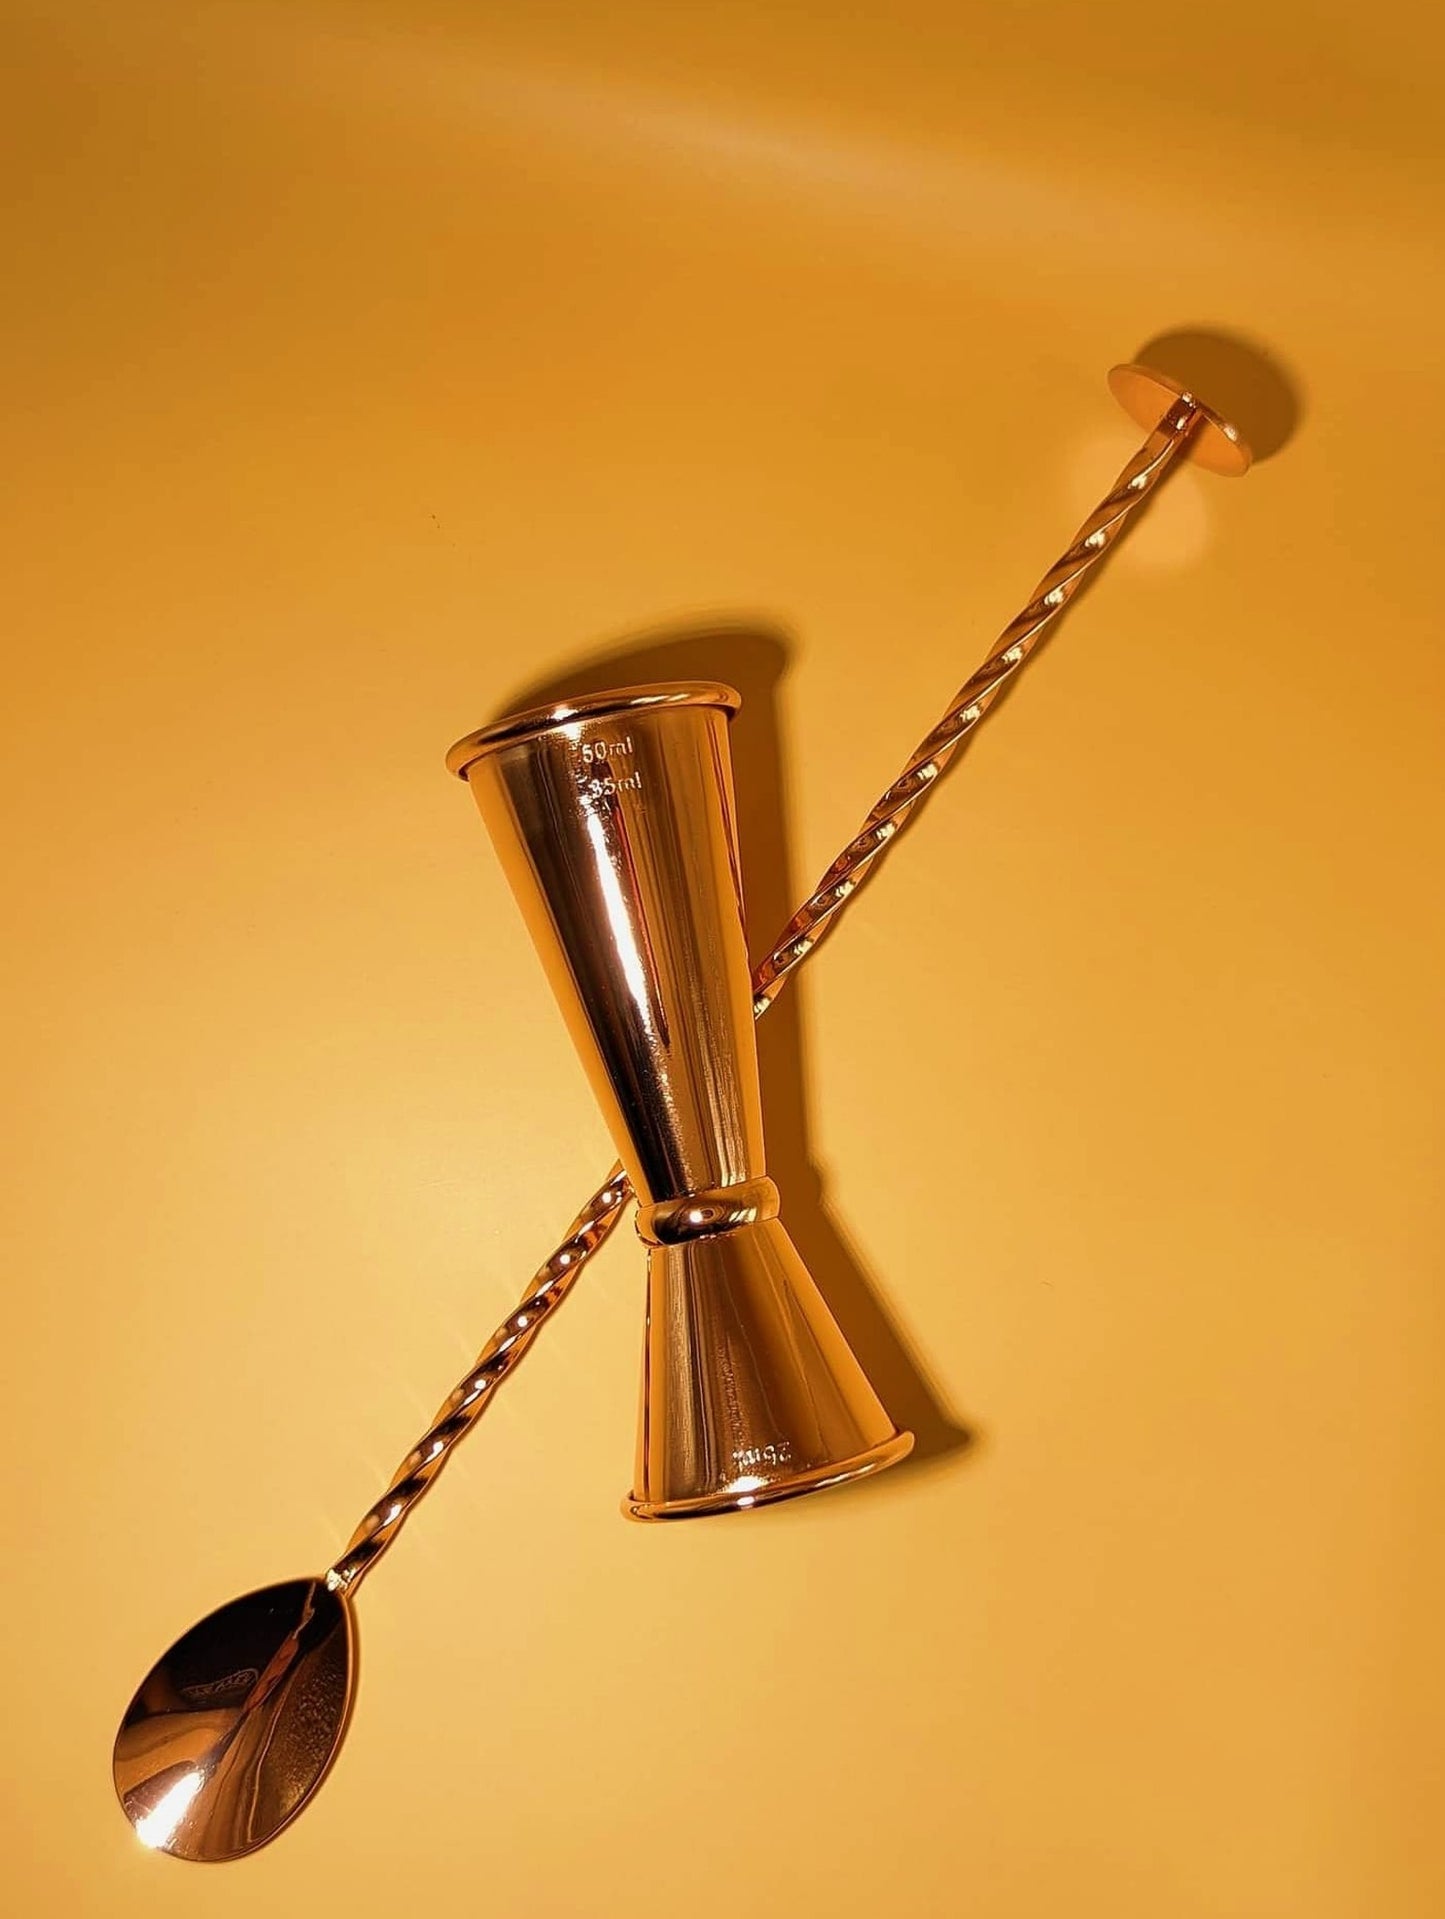
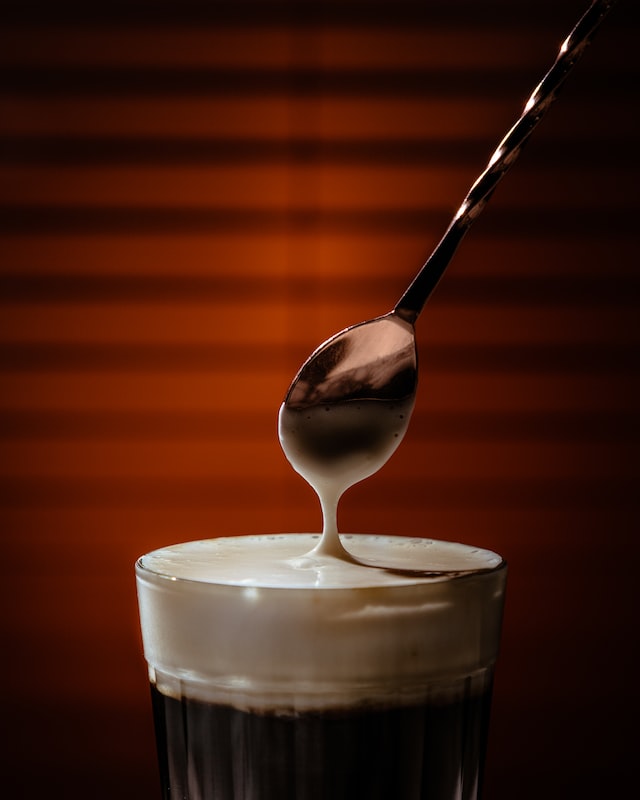
Whilst it’s tempting to use a standard spoon, the extra long and narrow handle of a bar spoon makes it much easier to reach down through the full length of your mixing glass. This will help to chill and dilute a cocktail, with the twisted stem encouraging even mixing.
Cocktail recipes often call for a ‘bar spoon’ of ingredients, so this will come in handy when measuring and placing ingredients into your cocktail. You can also use it to remove any extra pulp or seeds if your strainer hasn’t quite caught everything.
How you choose a bar spoon is down to personal taste and your level of experience.

If you're using a Cobbler shaker, you won’t need one of these because the shaker has a built in strainer. However, you will need this as an addition to your Boston-style shaker or mixing glass, to ensure that ice and any muddled ingredients don’t end up in your glass… or rolling terrifyingly towards your face during cocktail consumption.
Strainers can also help you to control the speed at which you pour a drink. Have a play with angles to figure out the right pace for you, to minimise spillages.
The Julep strainer is the oldest form of cocktail strainer, named after the Mint Julep cocktail. Generally, this style of strainer offers a better fit for your mixing glass and is easier to clean than a Hawthorne strainer.

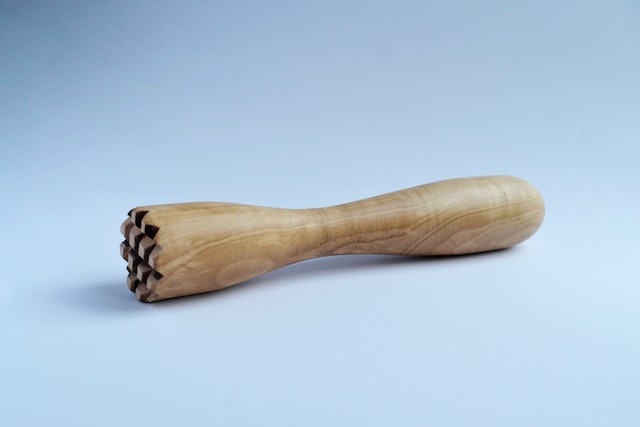
If you don’t have a European style bar spoon, a muddler is essential for cocktails requiring fresh fruits and herbs. The muddler can crush these to release juices and oils needed in cocktails such as a Caipirinha or Old Fashioned.

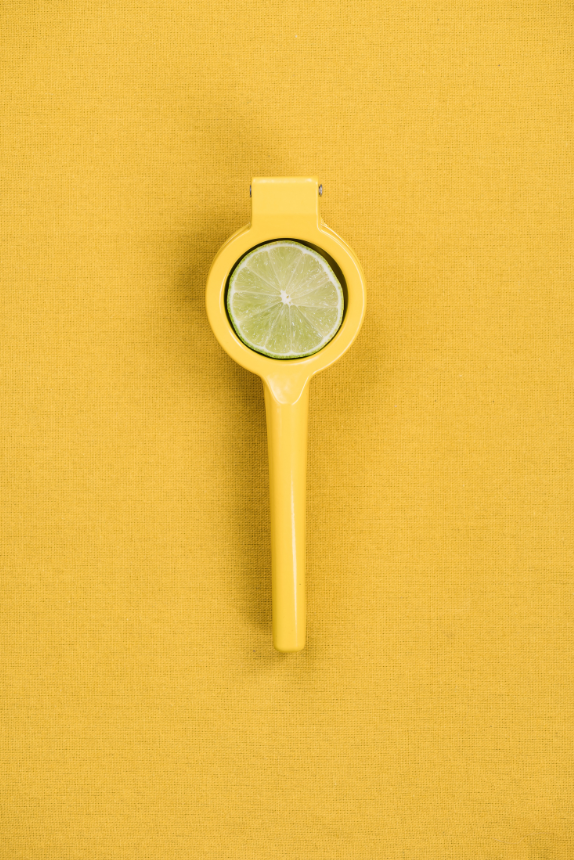
Also known as a Mexican Elbow, this is an essential when creating citrus focused cocktails.
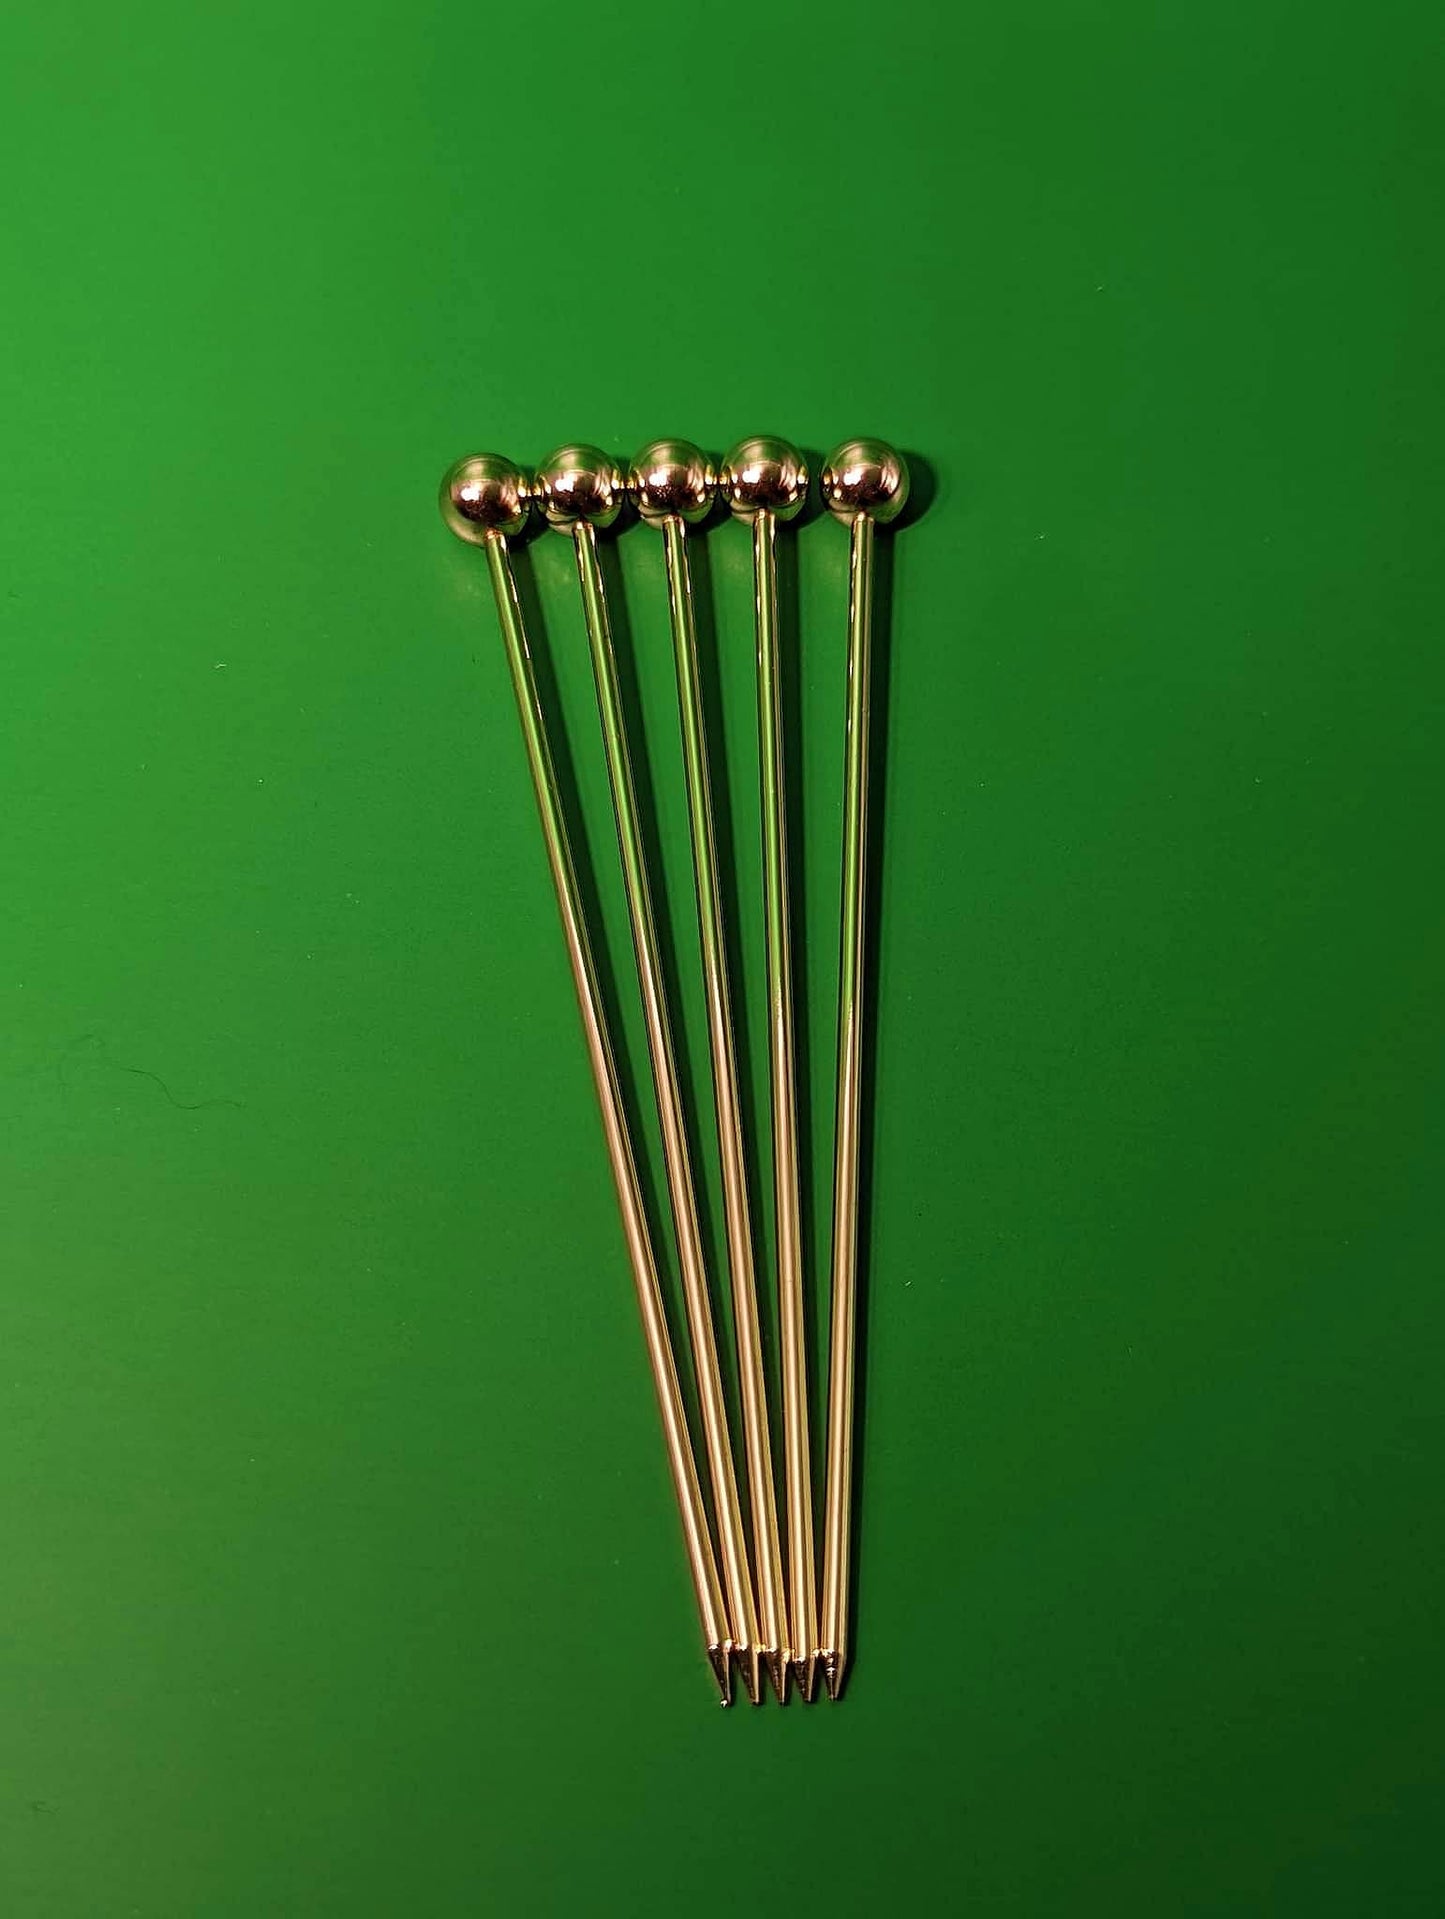
Ideal for adding and displaying garnishes such as a stuffed olive with your Martini.
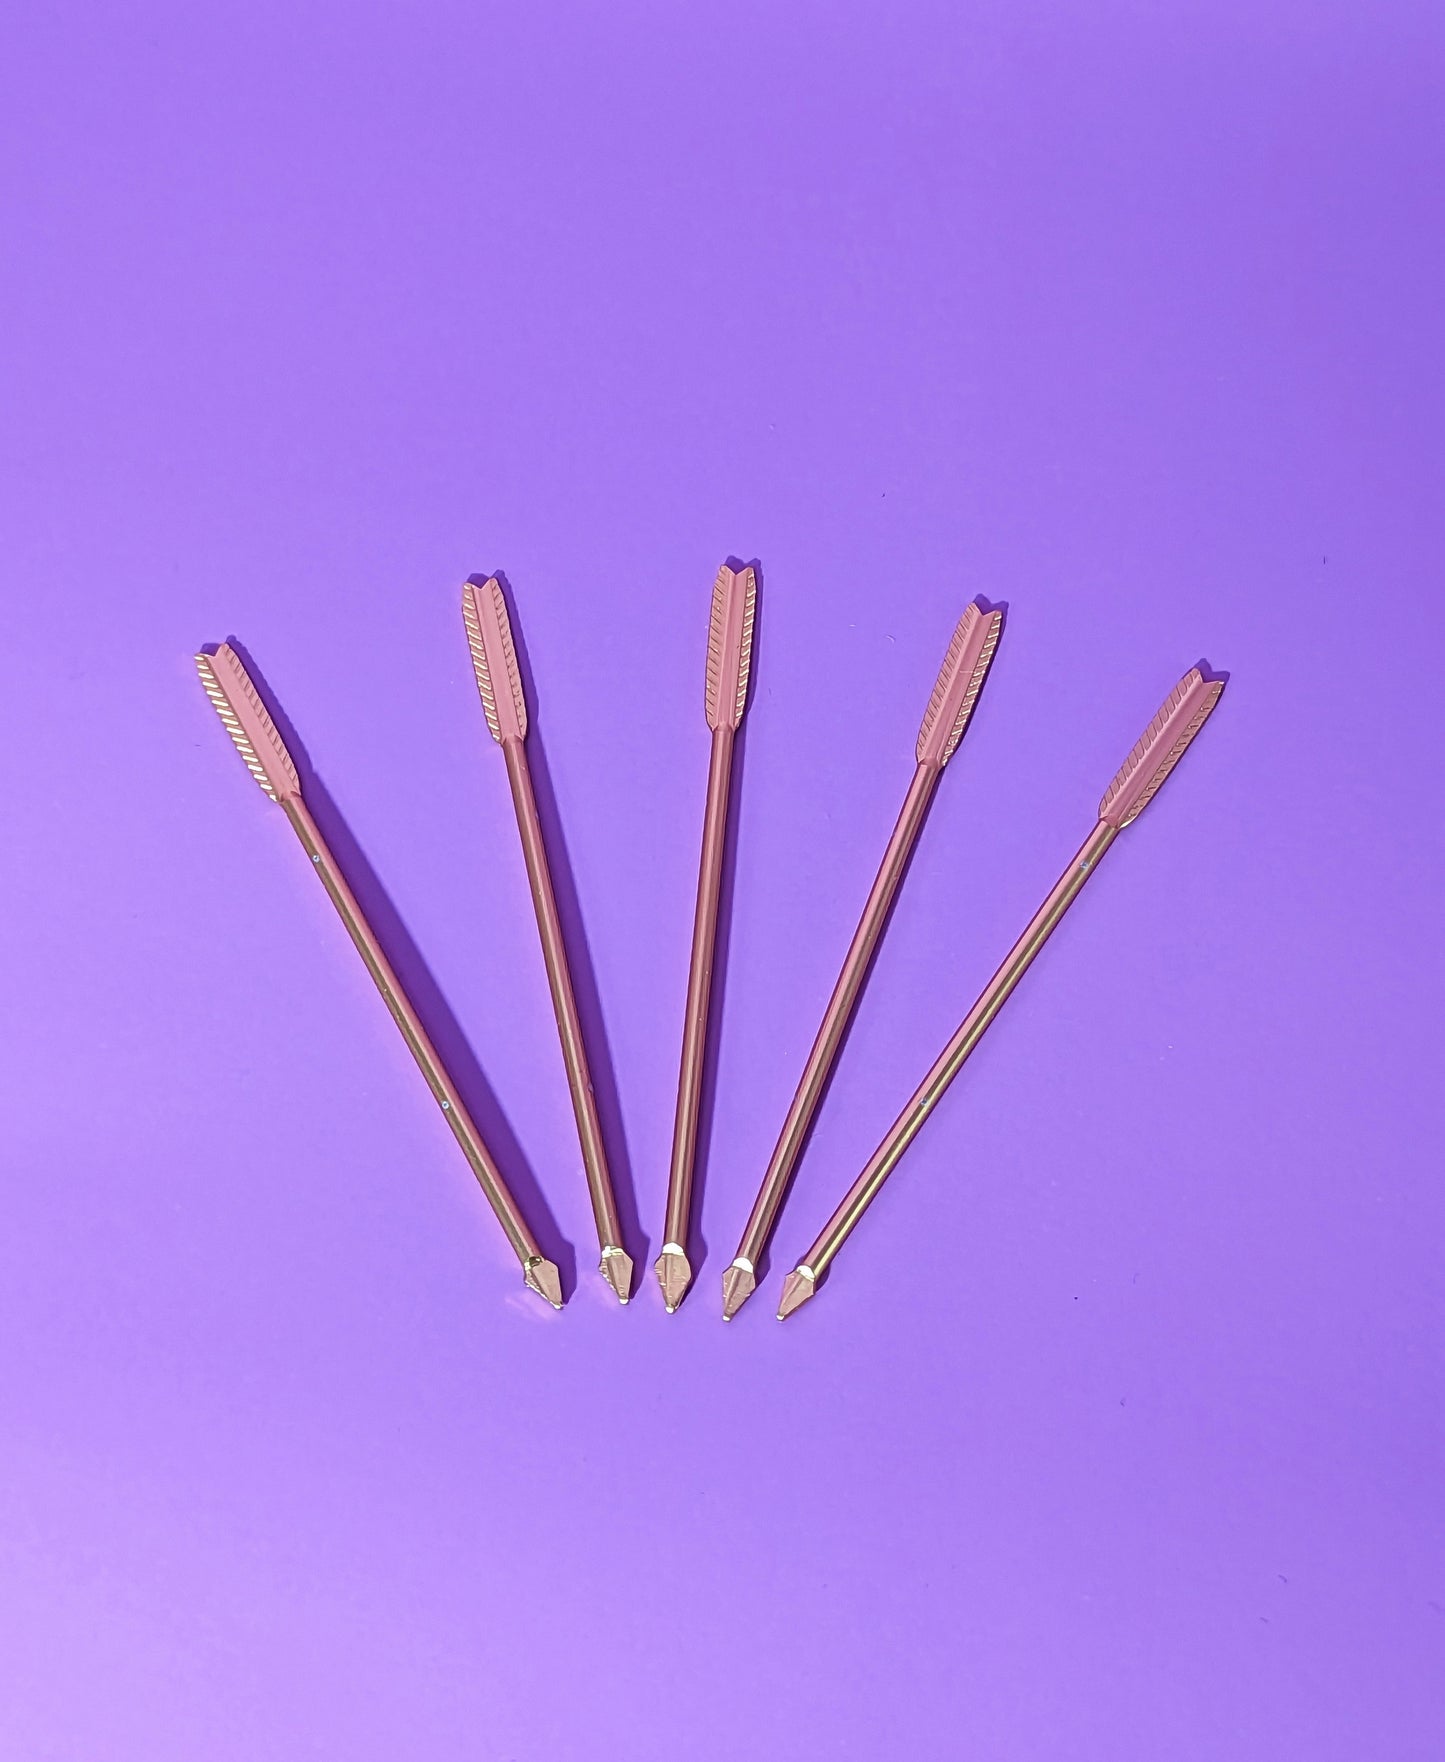
Cocktail stirrers are for when the drink is poured but the drinker wants to further dilute and mix their cocktail, and to make it look dashing, obviously.